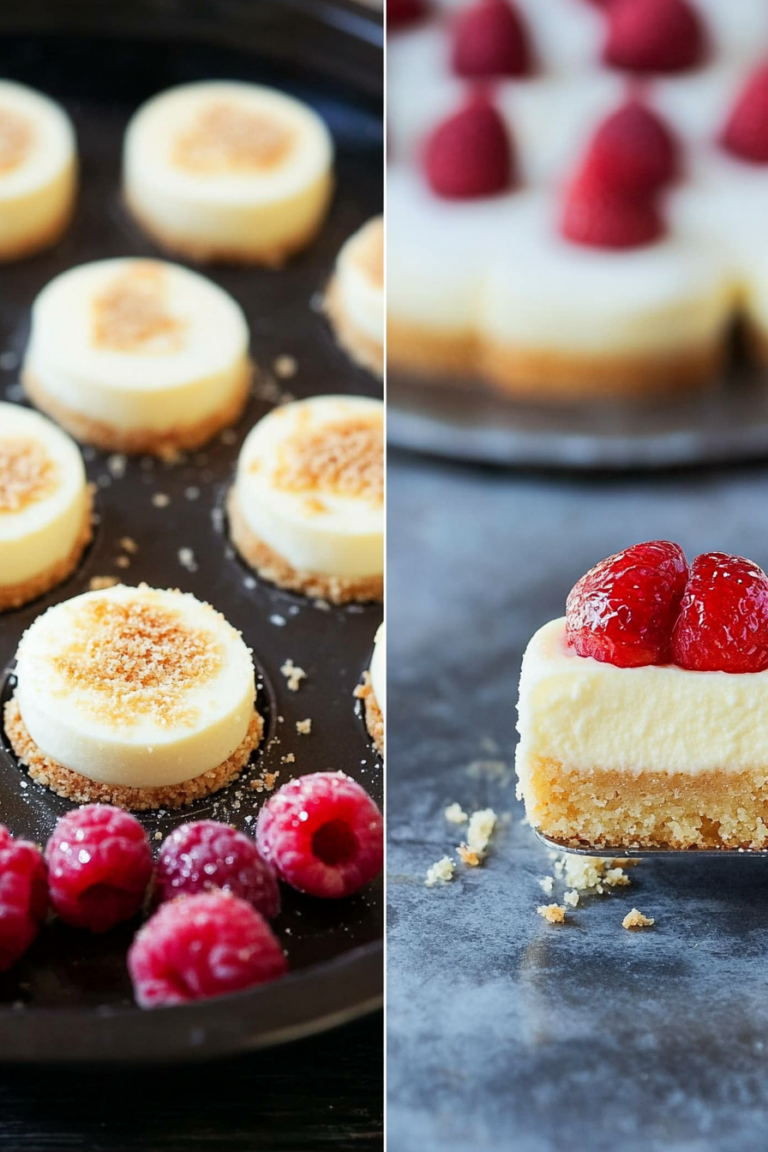
How to Bake Delightful Caramelita Cookies
There’s something about waking up on a chilly weekend morning and slicing into a warm, fragrant coffee cake that just hits differently. I remember growing up, my grandma always had a batch cooling on the counter, filling the house with that irresistible smell of cinnamon and butter. It’s one of those recipes that’s comfort in every bite — full of flavors I love but with a sneaky little vegetable twist that keeps it lighter than a typical sweet treat. Honestly, I always do this when I want something sweet but don’t feel like baking a whole cake — it’s like my secret little indulgence that my kids ask for all the time. And trust me, if you’ve got a zucchini in the fridge that’s about to meet its end, this is the perfect way to turn it into dessert. It’s incredibly easy to make, incredibly delicious, and kind of the best kept secret in my house. The smell alone brings everyone to the kitchen — even before it comes out of the oven. Ready to give this a shot? I promise, once you try this, it’ll be your new go-to for lazy Sunday mornings or whenever you want a little cozy something.
What is Zucchini Coffee Cake?
Think of this as a twist on the classic coffee cake, but with a little secret hiding inside. It’s essentially a moist, crumbly cake that’s perfect for breakfast or afternoon coffee — the kind of thing you slice into and the crumbs just melt in your mouth. It gets its name because it’s just as good with a steaming cup of coffee in hand, but honestly, my kids love it as a dessert too. The zucchini acts like a moisture booster, making every bite tender and fluffy, without overpowering the flavor. The cinnamon-sugar topping gives it that comforting crunch, and a quick drizzle of glaze on top makes it look Instagram-worthy. I’ve seen folks call it a “healthy” cake because of the zucchini, but really, it’s just a sneaky way to get some veggies in while satisfying that sweet tooth. It’s all about the cozy, homey vibes — simple ingredients, big flavor, and a recipe that’s been passed down with a little modern twist.
Why you’ll love this recipe?
What I love most about this zucchini coffee cake is how versatile and forgiving it is. The flavor combo of cinnamon, butter, and zucchini is so comforting and just slightly indulgent, but it really feels like a hug in cake form. The best part? This one’s a lifesaver on busy nights or when you’ve got last-minute guests coming over. You can throw it together in about 15 minutes, and the smell alone will make your house feel warm and inviting. Plus, it’s budget-friendly — just everyday ingredients that most of us already have cluttering the pantry or fridge. If you’re trying to sneak some extra veggies into your kid’s diet without a fuss, this dish is perfect. It’s also super customizable. Want to add some nuts or swap the glaze for a dusting of powdered sugar? Go for it. I’ve made this countless times, and it never fails to disappear quickly — especially at my house, where my kids asking for seconds is a common scene. Whether it’s for breakfast, brunch, or a cozy snack in the afternoon, this cake hits all the right notes. It’s like a hug from an old friend that you didn’t know you needed.
How do I make Zucchini Coffee Cake?
Quick Overview
This zucchini coffee cake comes together with a simple batter, a quick mix of fresh zucchini, and a buttery cinnamon crumble on top. You start by grating that zucchini (just a little moistness is perfect, so don’t squeeze too hard), mix it into a basic cake batter, then swirl in the cinnamon-sugar mixture and bake. The magic is in the buttery topping that gives it that classic crumbly texture. Once out of the oven, a light glaze gives it that finishing touch. It’s honestly one of the easiest yet most satisfying things you’ll make — good enough to serve with coffee or tea, but also perfect for sweetening up a busy weeknight. Once you’ve got the hang of it, I bet you’ll be throwing it together every weekend!
Ingredients
For the Main Batter:
– 2 cups all-purpose flour (or half whole wheat for a healthier spin)
– 1 cup sugar
– 1 teaspoon baking powder
– ½ teaspoon baking soda
– ½ teaspoon salt
– 1 teaspoon cinnamon
– ½ cup unsalted butter (melted or softened)
– 2 large eggs
– 1 cup grated zucchini (about 1 medium zucchini; no need to peel)
– 1 teaspoon vanilla extract
For the Filling:
– ¼ cup packed brown sugar
– 1 teaspoon cinnamon
– 2 tablespoons melted butter (for mixing with sugar and cinnamon)
For the Glaze:
– ½ cup powdered sugar
– 1-2 tablespoons milk or cream (to reach drizzle consistency)
– A splash of vanilla extract (optional for flavor)
Step-by-Step Instructions
Step 1: Preheat & Prep Pan
Set your oven to 350°F (175°C). Grease a 9-inch round cake pan or a square baking dish with butter or non-stick spray. If you want a nicer crust, you could line it with parchment paper, but honestly, I just butter and flour mine, and it releases perfectly.
Step 2: Mix Dry Ingredients
In a large bowl, whisk together the flour, sugar, baking powder, baking soda, salt, and cinnamon. This ensures everything is evenly distributed — trust me, nothing worse than a pocket of baking soda!
Step 3: Mix Wet Ingredients
In another bowl, beat the eggs, then stir in the melted butter, vanilla, and grated zucchini. It might look a little wet and lumpy — that’s totally okay. The zucchini will add moisture and little bits of fresh flavor.
Step 4: Combine
Pour the wet mixture into the dry ingredients, then fold gently until just combined. Be careful not to overmix — that’s how you get a tough cake instead of a tender one. The batter will be thick but pourable.
Step 5: Prepare Filling
Mix together the brown sugar, cinnamon, and melted butter. This will be your swirling magic that gives the cake its beautiful, marbled look. I like to prepare this while the batter is resting just to save time.
Step 6: Layer & Swirl
Pour about half of the batter into your prepared pan. Drop spoonfuls of the cinnamon-sugar mixture randomly over the top. Then, add the remaining batter — and here’s my trick — use a butter knife or skewer to swirl the filling into the batter gently. It creates a gorgeous marbled effect that’s almost too pretty to cut!
Step 7: Bake
Pop it into the oven and bake for 40-45 minutes. Check with a toothpick — if it comes out clean and the top looks golden, you’re good. Every oven is a little different, so my first time, I set a timer for 35 minutes then checked every 5 minutes after that.
Step 8: Cool & Glaze
Let the cake cool in the pan for about 15 minutes before transferring to a wire rack. Once cool enough to handle but still slightly warm, drizzle your glaze over the top. It seeps into the cracks and makes every bite that much more irresistible.
Step 9: Slice & Serve
Use a sharp knife to cut clean slices. I love serving this slightly warm with a cup of strong coffee or a glass of milk. Trust me, the aroma alone will have everyone asking for a second.
What to Serve It With
This zucchini coffee cake is so versatile, I often serve it in different ways depending on the time of day. For breakfast, nothing beats a slice alongside a steaming mug of coffee or tea. I’ve also set out a fancy platter with some fresh berries and whipped cream, and it’s just as charming for brunch. At dinner parties, I like to cut thick slices and serve with a dollop of mascarpone or Greek yogurt — it adds a tang that balances out the sweetness. And if you’re craving something casual or extra comforting, warm a slice and spread a little butter or cream cheese; it’s like a grown-up muffin that’s way more exciting. My family loves it with a drizzle of honey or a sprinkle of toasted nuts — totally optional, but oh-so-good.
Top Tips for Perfecting Your Zucchini Coffee Cake
Over the years, I’ve learned a few tricks to make this cake turn out just right every time. First, don’t squeeze the zucchini after grating — you want that moisture to stay. I find that lightly pressing the zucchini in a clean towel removes just enough water without making the batter too dry. When mixing the batter, fold gently. Overmixing can make it dense, and nobody wants a heavy coffee cake with this delicate crumb. For the swirl, I love using a skewer to create random, pretty marbling, but if you prefer a more uniform look, you can also layer the cinnamon mixture in the center—your choice! If you want to experiment, swap out the cinnamon for nutmeg or add a dash of ginger for a cozy kick. I’ve also tried making this with almond flour for a gluten-free version, and it’s still pretty fantastic — just watch the baking time because it tends to bake faster. Ensuring your oven is properly calibrated helps, but I always check around the 40-minute mark. The glaze is optional but adds a lovely shiny finish—my grandma’s secret, trust me! I tested this with different sugars too, and I like using a mix of brown and white sugar for that deeper caramel flavor. You really can make this your own.
Storing and Reheating Tips
This cake stays fresh for about 2-3 days at room temperature, loosely covered with foil or a kitchen towel. I prefer to store leftovers in an airtight container in the fridge — it helps keep the moistness longer. If you’re planning to enjoy it over a few days, just warm slices in the microwave for about 15 seconds; the smell and flavor come alive again. Freezing is also a good option — wrap tightly with plastic wrap and foil, then freeze for up to 3 months. Just thaw overnight in the fridge and warm slightly before serving. The glaze can be added just before serving or after thawing — I like to keep it simple and add it fresh. Honestly, I’ve reheated slices straight from the freezer, and they’re still fantastic with a little warmed milk or a drizzle of honey. Keeping it covered helps prevent the cake from drying out, and I’ve found that this is the best way to preserve that tender crumb. So whether you’re enjoying leftovers or making it ahead of time, this cake is as easy to store as it is to eat.
Frequently Asked Questions
Final Thoughts
This zucchini coffee cake really feels like a warm hug from your kitchen. It’s the kind of treat that makes your home smell amazing and brings everyone together around the table. I love that it’s versatile enough for breakfast or dessert and that it’s a sneaky way to add some veggies into a sweet guilty pleasure. Over the years, I’ve tinkered with different toppings, fillings, and flour types, but this version remains my favorite — simple, cozy, and just the right amount of sweet. If you try it out, I’d love to hear how yours turns out! Keep a close eye on the bake time, and don’t forget the glaze — it makes all the difference. Happy baking, my friends!
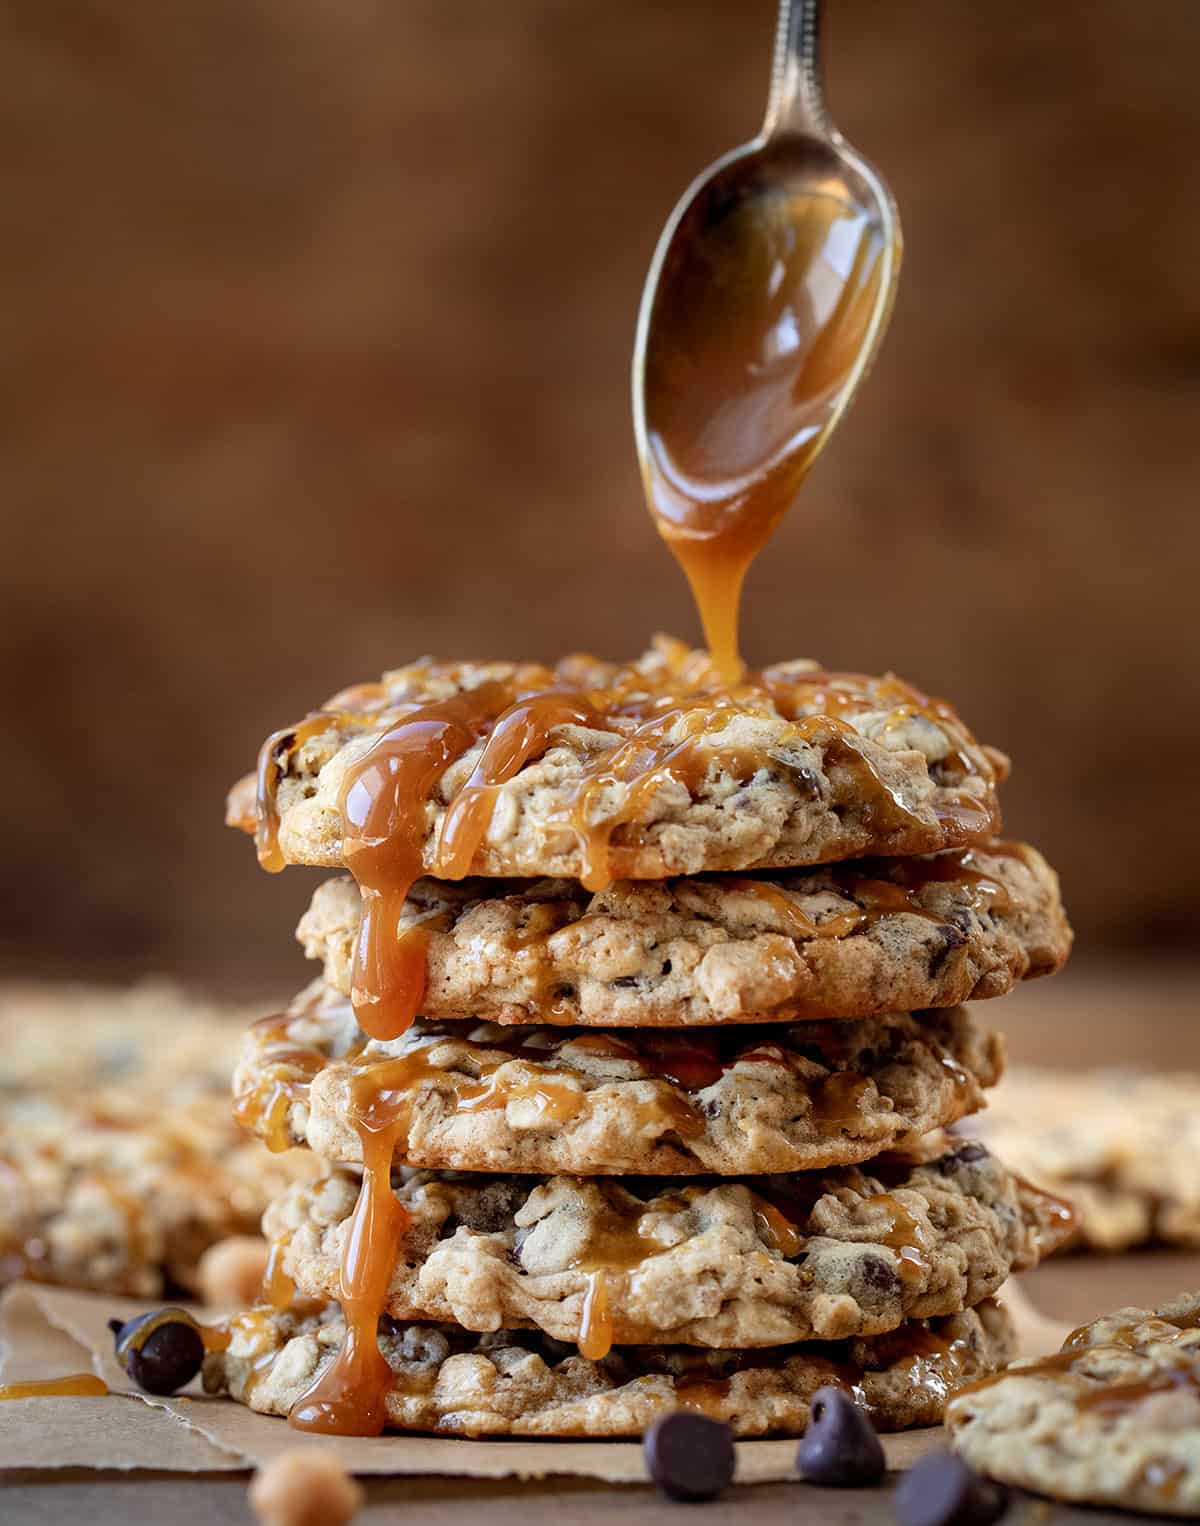
Caramelita Cookies
Ingredients
Method
- Preheat oven to 400°F. Line a baking sheet with parchment paper.
- In a large mixing bowl, whisk together oats, flour, baking powder, baking soda, and salt.
- In the bowl of a stand mixer with paddle attachment, add butter and brown sugar. Beat on low until smooth.
- Add eggs, molasses, and vanilla. Mix until fully incorporated, scraping sides as needed.
- Slowly add dry ingredients to wet mixture until combined.
- Stir in caramel bits and chocolate chips until just combined.
- Drop 2-tablespoon scoops of dough onto prepared baking sheet. Gently flatten slightly.
- Bake for 7 minutes. Cookies may appear doughy, which is okay.
- Let cookies rest on baking sheet for a few minutes, then transfer to wire rack to cool.
- Before serving, drizzle with caramel sauce.