Easy Frozen Lemonade Like Chick-fil-A
Honestly, this zucchini swirl snack cake feels like a little piece of my childhood sneaking into the modern kitchen. I remember the warm smell of fresh baked goods filling the house, everyone gathering around, asking when it would be ready. I always do this when I want something sweet but don’t want to fuss over complicated desserts — it’s a weeknight lifesaver and my kids ask for this all the time. The best part? It’s so forgiving, almost like a hug in cake form. Plus, I swear the secret swirl of zucchini makes it moist and tender without any of that dense heaviness you sometimes get with quick bread. If you’re like me and love that blend of fruity, veggie sneaky goodness mixed with sweet comfort, you’re going to adore this. Trust me on this one — once you make it, it disappears in minutes at my house! Whether I’m craving something cozy or just looking for a little treat, this cake never lets me down. And hey, it’s super easy to customize with nuts, chocolate chips, or even coconut. Grab a cup of coffee — let’s get baking!
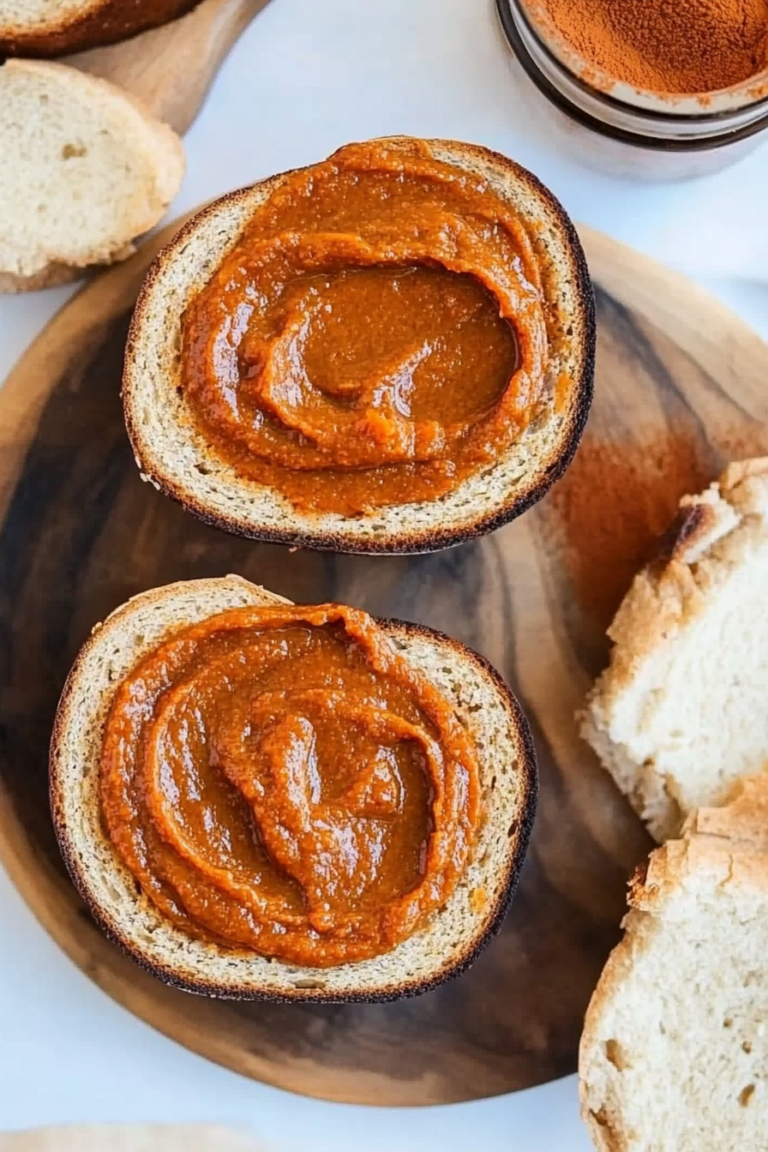
What is Zucchini Swirl Snack Cake?
This isn’t your typical cake — think of it as a delightful mashup between a moist, tender quick bread and a fun, whimsical swirl of grated zucchini folded into the batter. It’s essentially a cozy, everyday treat that makes good use of summer’s bounty (or those leftover zucchinis from the garden — I’ve definitely been there!). The name might sound fancy, but it’s super approachable. The “swirl” part is just the grated zucchini tucked gently into the batter, giving it moisture and a subtle flavor boost. It’s the kind of recipe you can whip up on a lazy Sunday, sneak into lunchboxes, or serve as a comforting snack with your morning coffee. The zucchini adds a surprising lightness, almost like a secret ingredient that makes this cake so addictive. Think of it as a breakfast cake or a slightly healthier dessert — I mean, it’s got greens in it, right? It’s friendly enough for beginners but still special enough to impress guests or family members who might be skeptical about veggie in baked goods.
Why you’ll love this recipe?
What I love most about this zucchini swirl snack cake is how versatile it is — I’ve made it countless times, and it never fails to get rave reviews. The flavor? Oh, it’s just lightly sweet, with a warm cinnamon-spiced aroma that pulls you in from the moment it start baking. The texture is what really wins me over — super tender, and that little swirl of zucchini keeps each bite moist and flavorful. It’s also a *little* healthier than your typical cake because of the veggies, but honestly, nobody can tell. Plus, it’s so simple. No fancy equipment needed, just a bowl, a whisk, and some patience. This one’s a lifesaver on busy nights when I want a quick homemade treat or when I want to sneak some veggies into my kids’ diet — they love the sweet “cake,” and I get the satisfaction of knowing they’re eating something wholesome. And if you’re budget-conscious, ingredients are affordable and pantry staples. Cross my heart, you’ll be making this again and again — I sure do!
How do I make Zucchini Swirl Snack Cake?
Quick Overview
This cake comes together pretty quickly — mix your dry ingredients in one bowl, your wet in another, combine carefully, fold in grated zucchini, then pour half into the pan, add your swirl filling, and top with the rest. Bake until a toothpick comes out clean, cool slightly, and drizzle with a simple glaze or dust with powdered sugar. The magic is in the swirl — it’s what makes this cake just a little more special than your average loaf. The whole process takes about an hour from start to finish, and I promise, you’ll be surprised at how this simple-looking cake turns out super moist and full of flavor. It’s the kind of recipe that feels like a warm hug with every bite. Plus, you can prep everything ahead if you want, which makes it perfect for busy mornings or last-minute get-togethers.
Ingredients
For the Main Batter:
- 1 ½ cups all-purpose flour — I like to use unbleached for a bit more flavor.
- 1 teaspoon baking powder — makes sure it rises well.
- ½ teaspoon baking soda — balances the acidity in zucchini.
- ½ teaspoon salt — enhances flavor.
- 1 teaspoon cinnamon — gives that warm, cozy vibe.
- ½ cup granulated sugar — adjust for sweetness preference.
- ½ cup packed brown sugar — adds depth and moisture.
- ½ cup vegetable oil — I tested this with almond milk once, and it actually made it even creamier!
- 2 large eggs — room temp if you can.
- 1 teaspoon vanilla extract — my little secret for aroma.
- 1 cup grated zucchini — grated finely, and I always squeeze out excess moisture so it doesn’t turn the batter watery.
For the Filling:
- ¼ cup brown sugar
- 1 teaspoon cinnamon
- Optional: nuts or chocolate chips for extra texture
For the Glaze:
- ½ cup powdered sugar
- 1-2 teaspoons milk or lemon juice — for desired consistency
- Optional: vanilla or a dash of almond extract for flavor
Step-by-Step Instructions
Step 1: Preheat & Prep Pan
Set your oven to 350°F (175°C). Grease a loaf pan or square baking dish with butter or non-stick spray. I like lining it with parchment for easy removal — trust me, nobody likes a sticky slice! Prepare your zucchini by grating it finely, then squeeze out any excess moisture with a clean cloth or paper towel. This step keeps the cake from getting soggy, and I learned this trick after a few batches that turned out wetter than I liked.
Step 2: Mix Dry Ingredients
In a large bowl, whisk together flour, baking powder, baking soda, salt, and cinnamon. It’s important to get everything evenly combined so the leavening agents are distributed. My grandma used to say, “Dry first, wet last,” and I’ve stuck with that — it just helps the batter come out smooth and fluffy.
Step 3: Mix Wet Ingredients
In another bowl, whisk the sugars, oil, eggs, and vanilla until well combined and a bit frothy. I always do this one by hand to really see how well everything’s incorporated. The mixture should look creamy and slightly thick. Stir in the grated zucchini last — it adds little specks of green that you’ll get excited about once you see the swirl effect later.
Step 4: Combine
Pour the wet ingredients into the dry and gently fold together with a spatula. I always try not to overmix here — just until the flour disappears — because overmixing can make the cake dense. A few lumps are totally okay, and it helps keep it light and tender.
Step 5: Prepare Filling
Mix together the brown sugar and cinnamon. This simple combo is what gives the swirl that beautiful caramel-y look and flavor. If you want to go fancy, throw in chopped nuts or mini chocolate chips here — I’ve done both, and both are equally delicious. Set aside, ready for layering.
Step 6: Layer & Swirl
Pour half of your batter into the prepared pan, then sprinkle half of the cinnamon-sugar mixture evenly over the top. Add the remaining batter and dollop the rest of the cinnamon mixture on top. Use a skewer or knife to swirl through the layers a few times — this creates gorgeous ribbons of cinnamon goodness, just like my grandma used to do. The visual appeal makes it irresistible when sliced!
Step 7: Bake
Bake for about 45-50 minutes, or until a toothpick inserted in the center comes out clean. I like checking at around 45 minutes because ovens vary — mine runs hot, so I’ll tent it with foil if I see the top browning too quickly. Let it cool in the pan for about 10 minutes, then transfer to a wire rack to cool completely. Patience is key here — if you slice too early, it might be a little crumbly, but once it’s cooled, it’s perfect.
Step 8: Cool & Glaze
Once cooled, whisk together your powdered sugar and milk or lemon juice until smooth. Drizzle over the cake like it’s a little love note. I love adding a splash of vanilla or almond extract to the glaze for extra flavor. It sets almost instantly and gives it that professional look — but honestly, I love it even plain. The aroma alone is enough to make my kitchen smell like bakery.
Step 9: Slice & Serve
Use a serrated knife for clean slices, and serve at room temperature. This cake is equally delightful warm or cooled — I actually love it the next day because the flavors meld even more! It’s great with a cup of coffee, a glass of milk, or even a dollop of whipped cream if you’re feeling decadent. For presentation, I like fanning out slices on a pretty plate, sprinkle a few extra cinnamon for that cozy vibe, and enjoy every bite.
What to Serve It With
This zucchini swirl snack cake is honestly like a blank canvas — it pairs beautifully with so many things. For breakfast, serve it with a strong cup of coffee or a steaming latte to start your day. I find that a dusting of powdered sugar or a smear of cream cheese makes it feel even more special. During weekend brunch, add a handful of fresh berries or toasts with butter alongside — it’s great for an informal gathering. As an afternoon treat, a tall glass of cold milk or even a herbal tea works magic. When I serve it as dessert, I love topping it with a scoop of vanilla ice cream or a drizzle of caramel — the warmth and coolness contrast is heavenly. And on casual days, I’ll just slice it up, pack a piece in the kids’ lunchbox, or enjoy it with a cozy blanket on the couch. It’s a versatile little slice of comfort that everyone in my family ends up loving.
Top Tips for Perfecting Your Zucchini Swirl Snack Cake
Over the years, I’ve learned a few tricks that make this cake come out perfect every time. First, squeezing out excess moisture from the zucchini is a game-changer. I used to skip this step, and the batter was always too watery, leading to a dense crumb. Now, I include this tiny step, and the result is so tender and light. When mixing, be gentle — overmixing is my biggest mistake. I used to whisk everything vigorously until the batter was smooth, but now I fold just until combined, and it makes a huge difference. The swirl pattern is funny but satisfying — I always use a skewer to drag through the layers, creating that lovely marbled effect. Feel free to customize the flavor! I’ve added a splash of lemon zest to the batter for brightness, or swapped the cinnamon filling for a Nutella swirl when I want something more indulgent. A good tip: check your oven’s actual temperature with a thermometer — mine runs hot, and I’ve ruined many a cake by overbaking. Also, don’t skip the glaze — it’s the finishing touch that makes the cake look bakery-worthy and adds that extra little sweetness. I tested this with almond milk to make it dairy-free, and it turned out just as delicious — so don’t hesitate to experiment!
Storing and Reheating Tips
This cake is lovely the next day — it actually tastes better once the flavors have had a little time to meld. Store it in an airtight container at room temperature for up to 2 days. If it’s really warm or humid, I recommend refrigerating it in a covered container for up to 4 days — the key is to keep it from drying out. If you want to make it ahead for a party or just have leftovers, wrap slices tightly in plastic wrap, then pop them into a freezer-safe bag. It’ll hold up beautifully for up to 3 months. Thaw at room temperature or gently reheat in the microwave for about 20 seconds — it’s just as moist and flavorful. Keep in mind, if you’ve added glaze or toppings, it’s best to re-glaze or freshen after reheating to keep that bakery-fresh look and taste. Honestly, I think this cake is almost better the next day, as the flavors really develop and the moisture stays just right. It’s a great make-ahead treat that won’t disappoint!
Frequently Asked Questions
Final Thoughts
Honestly, this zucchini swirl snack cake has become a staple in my home. It’s the kind of recipe that feels like comfort food but with a little extra flair thanks to that beautiful swirl of zucchini. Every time I make it, I get nostalgic — thinking about my family gathered around or that moment I whipped it up on a whim, instantly brightening my day. It’s simple enough for beginners but charming enough to impress seasoned bakers. The subtle spices, the moist crumb, the fancy-looking swirl — it’s all a about putting love into your baking. I highly encourage you to give it a try, experiment with add-ins or flavors, and make it your own. I’d love to hear how yours turns out or if you put a personal twist on it! Happy baking, and don’t forget to enjoy every delicious bite. Share your photos and stories — I can’t wait to see!
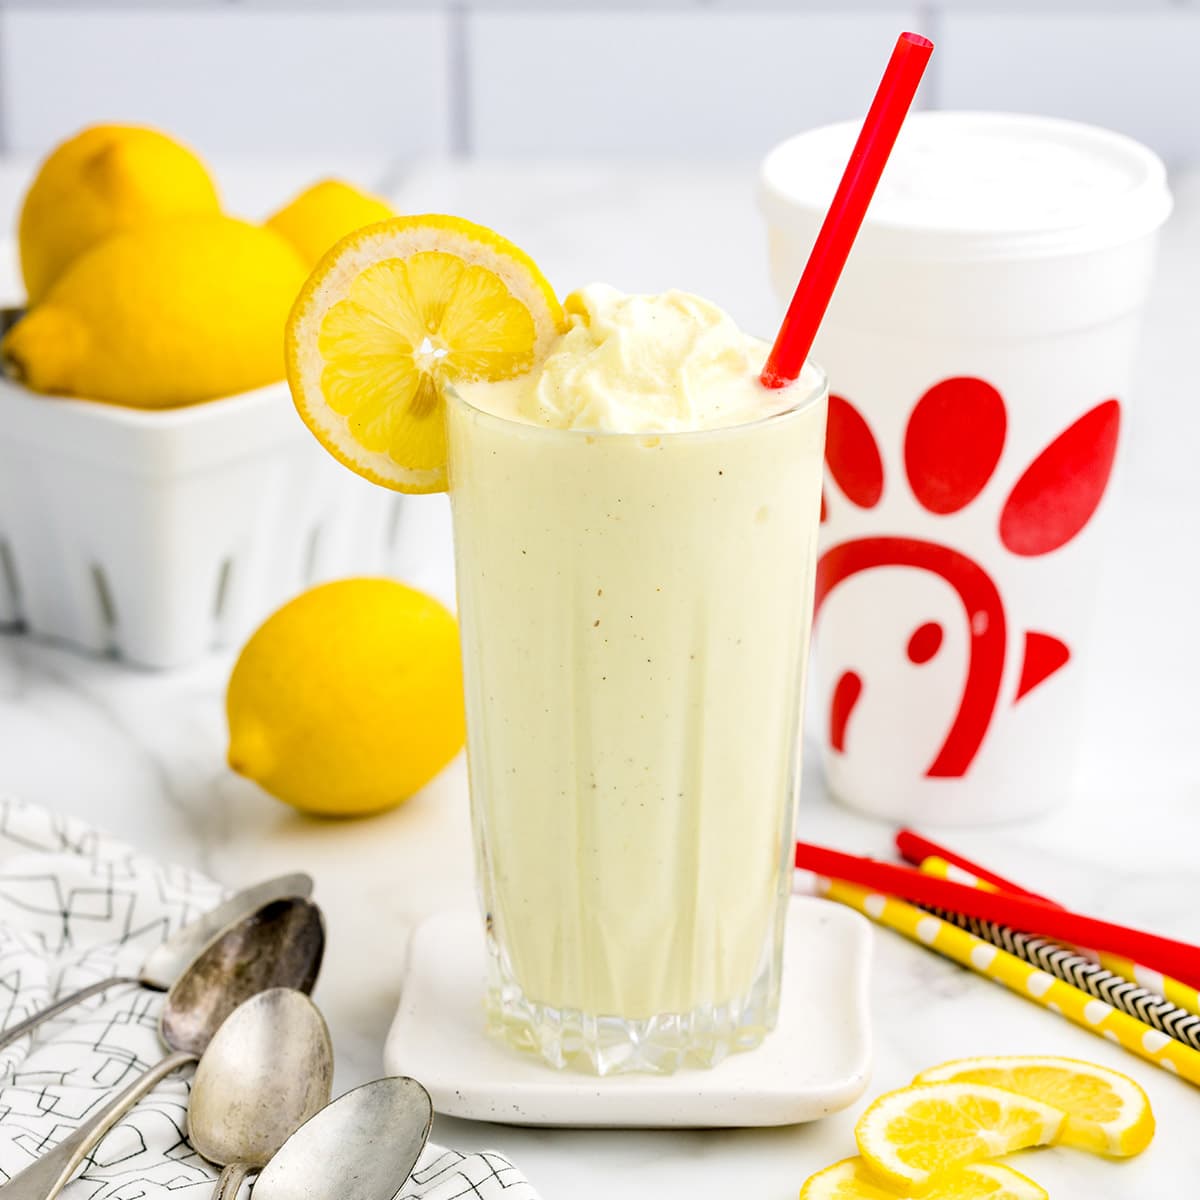
Frosted Lemonade
Ingredients
Method
- Add the lemon juice and sugar to a blender. Blend at low speed for 30-45 seconds until dissolved and combined.
- Keep the blender at low speed, and drizzle in the cold water. Blend for another 10-15 seconds.
- Add the vanilla bean ice cream to the mixture. Secure the lid and pulse on low until well blended. Pour into glasses and serve immediately.