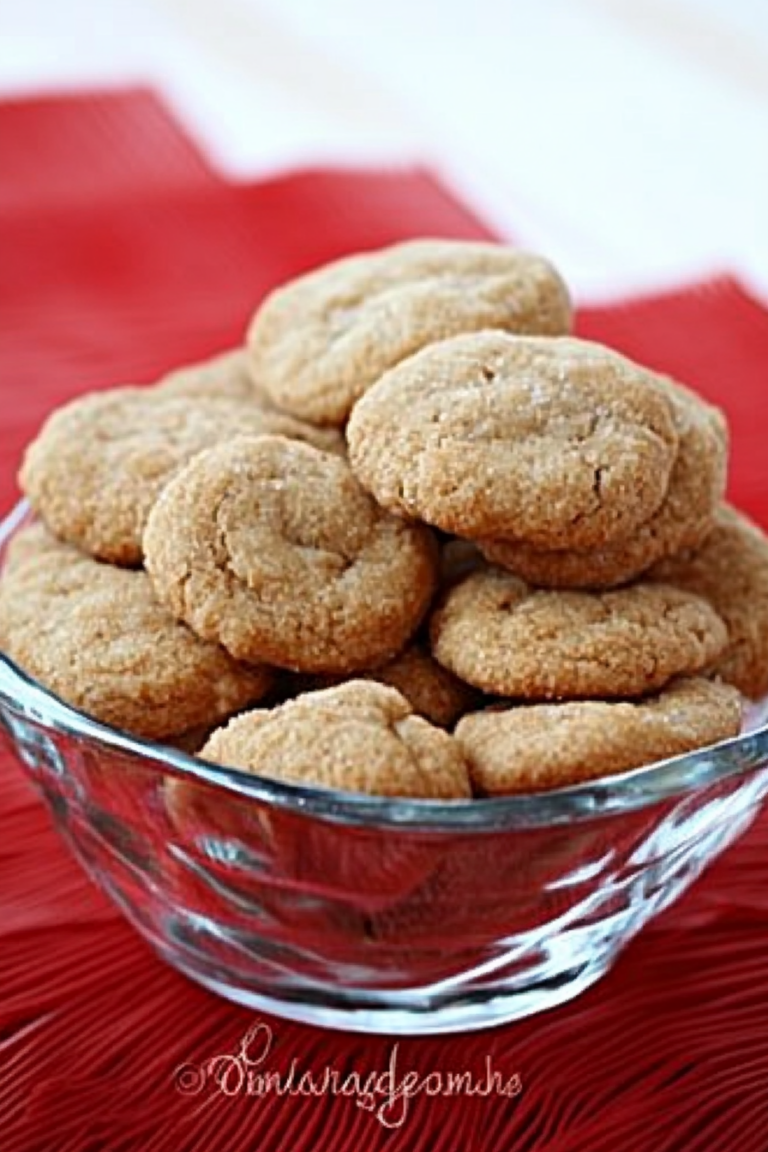
Easy Peanut Butter Cookie Monster Treats
There’s nothing quite like the comfort of baking something that’s secretly healthy but tastes indulgently rich. I remember the first time I made this zucchini chocolate swirl cake—it was a lazy Sunday afternoon, and I had a bunch of zucchini leftover from the week’s farmer’s market haul. I was craving something sweet, but I didn’t want to blow my healthy vibe. This cake is perfect for those moments—it’s moist, tender, and packed with cocoa goodness, with a surprising addition of zucchini that adds moisture and a subtle veggie boost. Honestly, this one’s a lifesaver on busy nights when I need a little pick-me-up, or when my kids ask for seconds. And the best part? Nobody ever guesses the secret ingredient. I’ve tested this with almond milk, and it actually made it even creamier, so feel free to swap out ingredients based on what you’ve got in the fridge. Trust me, once you try this, it’ll become a staple—because let’s face it, who doesn’t need a little chocolate-y goodness that sneaks in some veggies? It’s like sneaking a hug into your dessert—totally satisfying and wholesome. Ready to get your bake on? Let’s go!
What is Zucchini Chocolate Swirl Cake?
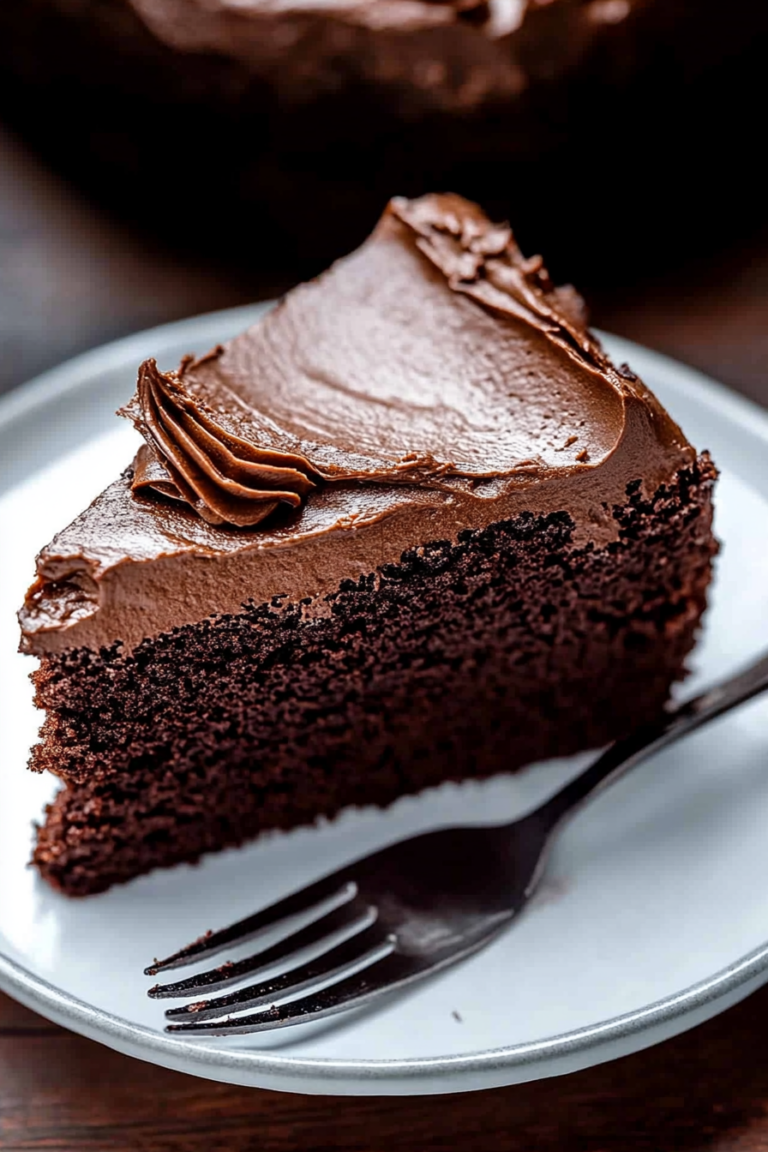
This zucchini chocolate swirl cake is basically a cozy, homemade cake that combines the natural moisture of shredded zucchini with rich cocoa swirl ribbons. Think of it as a cross between a tender pound cake and a decadent brownie, all in one. The name says it all: “zucchini” for that sneaky veggie, and “chocolate swirl” because I love creating pretty marbled patterns with dark cocoa and vanilla batter. It’s essentially an easy, one-bowl style cake that’s perfect for spring or fall, especially when zucchini is aplenty. The concept is simple—grated zucchini gets folded into a vanilla cake batter, creating a moist crumb that’s almost melt-in-your-mouth. Then, spreading a rich cocoa mixture on top and swirling it through transforms this humble cake into a swirl of gorgeous chocolate ribbons. This cake is friendly for all levels—no fancy techniques needed—and it’s just as good for breakfast, dessert, or even a coffee date with friends. And honestly, once you taste that first slice, you’ll wonder why you don’t bake it every week!
Why you’ll love this recipe?
What I love most about this zucchini chocolate swirl cake is how it manages to be both healthy and indulgent at the same time. The zucchini keeps it super moist, almost like a muffin but with the elegance of a cake. The flavor is rich and cocoa-forward, but not overly sweet, so you get that satisfying chocolate fix without feeling guilty. Plus, the process is straightforward—no fancy equipment required, just a few bowls and a spatula. This one’s a real budget-friendly recipe, too, since it uses simple pantry staples like flour, sugar, cocoa powder, and, of course, zucchini. It’s incredibly versatile: I’ve played around with swapping out white sugar for honey or maple syrup (works beautifully), and I’ve even tested it with almond or oat milk that made it creamier than ever. It’s perfect for baking with kids, because they love the swirling part—seeing that beautiful marbled pattern come to life is almost magical. And, honestly, what I appreciate most is how it disappears in minutes at my house. My kids actually ask for this all the time, which makes it a win in my book. Whether I need a quick snack or a charming dessert to serve guests, this cake always feels special but is so fuss-free. It’s one of those recipes that feels like a warm hug—something I truly cherish baking whenever I want comfort with a bit of a health boost.
How do I make Zucchini Chocolate Swirl Cake?
Quick Overview
This cake comes together quickly—mix the batter, prepare the cocoa swirl, layer and swirl everything together, then bake until a toothpick comes out clean. The secret is not to overmix the batter; just fold everything gently to keep it tender. The cocoa swirl gets dolloped and swirled in, creating that beautiful marbled look. It’s such a forgiving recipe; even if you’re running a little late or new to baking, you’ll find it easy and fun to make. Plus, since this cake is moist, it stays fresh for days—if it lasts that long, which it rarely does in my house. The smell alone while baking is enough to make everyone come running, and the first slice is always met with happy little mouths asking for seconds.
Ingredients
For the Main Batter:
– 2 cups all-purpose flour (or almond flour for a gluten-free twist, just add a little extra moisture)
– 1 cup granulated sugar (or coconut sugar for an earthy flavor)
– 1 teaspoon baking powder
– ½ teaspoon baking soda
– ½ teaspoon salt
– 1 teaspoon vanilla extract
– ¾ cup vegetable oil (or melted coconut oil)
– 1 cup grated zucchini (squeeze out excess moisture as needed)
– ¾ cup milk (dairy or plant-based)
For the Filling:
– ¼ cup cocoa powder
– ¼ cup hot water
– ½ cup brown sugar or maple syrup
– 2 tablespoons melted butter or coconut oil
For the Glaze:
– ½ cup powdered sugar
– 1-2 teaspoons milk
– A dash of vanilla extract
– Optional: a sprinkle of cocoa or chopped nuts for garnish
Step-by-Step Instructions
Step 1: Preheat & Prep Pan
I always start by preheating my oven to 350°F (175°C). Grease a standard loaf pan or springform pan with a little butter or non-stick spray. Lining it with parchment paper makes life easier when it’s time to remove the cake. This helps keep things neat and makes slicing a breeze.
Step 2: Mix Dry Ingredients
In a large mixing bowl, whisk together the flour, sugar, baking powder, baking soda, and salt. I find that a thorough whisk ensures even distribution of the leaveners, which helps the cake rise beautifully. Don’t skip this step—it’s the foundation for a fluffy cake.
Step 3: Mix Wet Ingredients
In a separate bowl, combine the oil, vanilla, milk, and grated zucchini. Mix well—sometimes I add a touch of lemon zest for a bright flavor. Make sure your zucchini is well squeezed; moisture is the enemy of tender cake, so getting rid of excess liquid makes a huge difference.
Step 4: Combine
Slowly pour the wet mixture into the dry ingredients, gently folding with a spatula just until combined. Overmixing can lead to a dense cake, so stir until everything is just incorporated. Sometimes I stop a little early, then do a few final gentle folds—perfection lies in moderation here.
Step 5: Prepare Filling
In a small bowl, whisk the cocoa powder with hot water until smooth. Swirl in the melted butter and sweetener. This mixture should be thick but pourable. You can add a pinch of cinnamon or chili powder here if you like a spicy kick—trust me, flavor experiments keep things interesting.
Step 6: Layer & Swirl
Pour about half of the batter into your prepared pan. Dollop spoonfuls of the cocoa mixture over the batter. Rest the remaining batter on top and gently swirl with a toothpick or skewer—try to make a pretty marbled effect, but don’t stress about perfect lines. The swirl is what gives this cake its signature look.
Step 7: Bake
Pop it into the oven and bake for about 40-45 minutes. Be sure to check doneness with a toothpick inserted into the center; it should come out clean. If your oven runs hot or cool, start checking around 38 minutes—every oven is different! I’ve learned to trust my nose; when it smells fragrant and slightly chocolaty, it’s probably ready.
Step 8: Cool & Glaze
Let the cake cool in the pan for about 15 minutes, then transfer to a wire rack. Once cool enough to handle, drizzle with the glaze or dust with powdered sugar. I like to add a few chopped nuts or a sprinkle of sea salt on top for texture. That little salty bite balances the sweet richness.
Step 9: Slice & Serve
This cake is best sliced once fully cooled—goes from super moist to slightly firmer once chilled. Slice with a serrated knife for neat cuts. Serve it on a pretty plate with a hot cup of coffee or a cold glass of milk. Honestly, I sometimes eat this for breakfast—no shame here. It’s just that good.
What to Serve It With
This zucchini chocolate swirl cake is a chameleon—it pairs beautifully with so many things. For breakfast, I love a dollop of Greek yogurt or a drizzle of honey on top. It’s also fabulous with a cup of morning coffee, especially when the house is quiet and the lights are just right. On weekends, I sometimes serve slices alongside a fresh fruit salad and a side of crunchy nuts. If I’m feeling fancy, I’ll add a dollop of whipped cream or a scoop of vanilla ice cream for that extra special touch. For dinner parties, a light dusting of powdered sugar or a smear of mascarpone makes it feel a bit more elegant. My kids ask for this as an after-school treat, and honestly, it’s become our go-to “feel-good” dessert—plus, I love that they’re eating zucchini in what’s basically cake!
Top Tips for Perfecting Your Zucchini Chocolate Swirl Cake
If you want your cake to turn out just perfect, here are some secrets I’ve picked up after plenty of baking rounds:
Zucchini Prep: Always squeeze out as much moisture as possible. I use a clean dish towel and give the grated zucchini a good squeeze—this keeps the cake from turning into a soggy mess. The drier the zucchini, the better the crumb.
Mixing Advice: Use a gentle touch when folding the wet into the dry ingredients. Overmixing creates a dense, rubbery texture—trust me, this is the mistake I made on my first try! Just combine until there are no visible flour streaks.
Swirl Customization: To make prettier marbling, add the cocoa mixture in dollops and swirl gently. For a more dramatic swirl, add more cocoa or even swirl some nut butter for extra flavor.
Ingredient Swaps: If you’re out of sugar, honey or maple syrup work nicely—just reduce the liquids slightly. For the oil, applesauce can be a good healthy substitute, replacing some fat without sacrificing moisture. I’ve also tested adding a handful of mini chocolate chips—amazing!
Baking Tips: If your oven runs hot, reduce the temperature to 340°F and check around 38 minutes. To test for doneness, insert a toothpick; if it comes out moist but not batter-y, you’re good. Remember, the house will smell incredible even before it’s fully baked, so trust your nose!
Glaze Variations: Feel free to swap the powdered sugar for a simple lemon glaze or melted dark chocolate for a more decadent finish. I’ve even sprinkled a bit of sea salt on top right after glazing—yum! Experimenting makes baking so much fun, and honestly, I adore discovering new flavor combos each time.
I’ve learned that patience is key—letting the cake cool completely before glazing keeps everything neat and beautiful. And don’t be discouraged if it’s not perfect—you’re making memories with each bake, and that’s what really counts.
Storing and Reheating Tips
This cake is almost better the next day—so don’t hesitate to make it ahead. Store leftovers in an airtight container at room temperature for up to two days, but for longer freshness, pop it in the fridge. Just keep it covered to prevent it from drying out. If you do refrigerate it, let it sit at room temperature for about 15 minutes before slicing—cold cake can be a little crumbly.
Want to freeze leftovers? Wrap slices tightly in plastic wrap, then foil, and store for up to three months. Thaw at room temperature or gently reheat in the microwave for a few seconds—delicious and moist as when freshly baked. If you used a glaze or frosting, I usually add it just before serving to keep everything looking pretty and fresh.
And here’s a tip—if you plan to reheat, do it slowly. I’ve learned that high power can dry out the cake a bit, so low and slow is best. Also, if it’s glazed, reheat without the glaze on, then add it on top last minute so it stays shiny and appealing. This cake stays moist thanks to the zucchini, so even a day or two later, it’s still wonderfully tender.
Frequently Asked Questions
Final Thoughts
This zucchini chocolate swirl cake is one of those recipes I keep coming back to, not just because it’s delicious, but because it always feels like a little celebration. It’s a fantastic way to sneak some veggies into your family’s diet without anyone suspecting—trust me, my kids are delighted every time I pull this out of the oven. It’s cozy, rich, and a little bit fancy, perfect for brunches, lazy afternoons, or just a quiet moment with a good book. Once you get the hang of swirling the cocoa in, you’ll find yourself experimenting with different flavors and add-ins—maybe a dash of espresso powder or a handful of chopped nuts. I really hope you try this; it’s like baking a hug, and I can’t wait to hear how yours turns out. Happy baking, and don’t forget to share your pictures and tips—I love hearing from fellow home cooks!

peanut butter cookies
Ingredients
Method
- Preheat oven to 350°F. Line baking sheets with parchment paper or silicone mats.
- Cream together butter, peanut butter, and brown sugar until smooth. Mix in vanilla, egg, and milk. Add pudding mix and combine. Stir in baking soda, then gradually add flour. Fold in chocolate chips and sprinkles.
- Scoop 2-tablespoon balls onto baking sheets. Press in a criss-cross pattern with a fork. Top with additional chocolate chips or sprinkles if desired.
- Bake for 8-12 minutes until edges are golden. Immediately press candy eyes on top if using. Cool completely before removing from sheets. Store in an airtight container for up to 4 days.