Easy Roasted Garlic Green Beans Recipe
There’s a little corner in my kitchen, right by the window, where I’ve spent countless Saturday mornings baking this zucchini swirl bread. The first time I made it, my kids looked at me like I’d just pulled a magic trick out of the oven—they didn’t even know zucchini could turn into something so sweet and inviting. It’s honestly become a family favorite, especially when I want to sneak in some veggies without any fuss. It’s soft, moist, with a beautiful marbled swirl that makes it look just fancy enough for company but simple enough to whip up when you’re craving something cozy. Trust me, this one’s a lifesaver on busy nights or lazy Sunday mornings. And the smell—oh, the smell alone—that warm, spiced aroma? It’s enough to bring the whole neighborhood knocking on your door. Plus, it’s way healthier than your average quick bread, so I always do this when I want a treat that feels indulgent but isn’t packed with sugar or butter. Honestly, every time I make this, I think about those chilly mornings during fall, layering up just enough to sit with my coffee and a slice of this goodness. Ready to get baking? Let’s do it!
What is Zucchini Swirl Bread?
This zucchini swirl bread is basically a cozy, tender bread with a beautiful marbled effect—think of it as a cinnamon roll’s cousin but way less sticky and more perfect for slicing. It’s essentially a quick bread, meaning it’s leavened with baking powder rather than yeast, so it comes together quickly and doesn’t need a long rising time. The name hints at the star ingredient—zucchini—which, when grated, adds moisture and a slight sweetness, making the bread irresistible. Think of it as a sneaky way to turn a humble vegetable into a show-stopping breakfast or snack. The swirl is usually a cinnamon-sugar mixture, but I’ve tested it with chocolate chips, nuts, and even a hint of orange zest. This recipe’s about balance—moist, tender crumb with just enough sweetness, and that eye-catching marbling that makes even the simplest loaf feel special. Honestly, I love how adaptable it is—you can tweak the flavors easily and still end up with a gorgeous, tasty treat.
Why you’ll love this recipe?
What I love most about this zucchini swirl bread is how it brings comfort and cheer in every bite. The flavor is a lovely balance of cinnamon, vanilla, and that subtle sweetness from the zucchini. It smells incredible while baking—my house always fills up with that warm, spicy scent that makes everyone come running. And get this—it’s super easy to make. No complicated kneading or proofing here, just straightforward mixing and layering. It’s perfect for busy mornings when I don’t want to fuss but still crave a homemade touch. Plus, it’s budget-friendly; most of the ingredients are pantry staples—flour, sugar, eggs, and zucchini from the garden. I’ve made this with frozen zucchini too, and it works just as well! Besides, the swirling technique? It’s a total crowd-pleaser. My kids ask for this all the time, especially when I add a drizzle of simple glaze or cream cheese spread on top. Whether I serve it warm for breakfast, sliced for an afternoon snack, or turned into a luscious dessert with ice cream, it’s always a hit. It’s versatile, comforting, and just plain delicious—what’s not to love?
How do you make Zucchini Swirl Bread?
Quick Overview
This zucchini swirl bread comes together in a matter of minutes and is mostly about layering. You start by whisking together dry ingredients, then blending wet ingredients, and finally combining everything into a smooth batter. The fun part is spreading half the batter into your loaf pan, then sprinkling cinnamon sugar and swirling it through before toppling on the rest of the batter. Bake until golden and a toothpick comes out clean. It’s foolproof and a real showstopper. I love how the swirl pattern looks—I always get compliments, and it’s surprisingly simple to achieve once you get the hang of it. Plus, the whole process makes my kitchen smell amazing, which is always a good sign that good things are happening in there.
Ingredients
For the Main Batter:
– 2 cups all-purpose flour (I use unbleached for a richer flavor)
– 1 cup granulated sugar
– 1 teaspoon baking powder
– ½ teaspoon baking soda
– ½ teaspoon salt
– 1 teaspoon ground cinnamon (more if you love it spicy!)
– 1 cup grated zucchini (squeeze out excess moisture so the bread isn’t soggy)
– ½ cup vegetable oil (or melted coconut oil for a tropical twist)
– 3 large eggs
– 1 teaspoon vanilla extract
For the Filling (Cinnamon Sugar Swirl):
– ½ cup packed brown sugar
– 1 tablespoon ground cinnamon
– 2 teaspoons melted butter or coconut oil (to help it stick and spread easily)
For the Glaze (Optional but delicious):
– ½ cup powdered sugar
– 1-2 tablespoons milk or cream
– A splash of vanilla or citrus zest for extra flair
Step-by-Step Instructions
Step 1: Preheat & Prep Pan
Set your oven to 350°F (175°C). Grease your loaf pan with butter or non-stick spray and line it with parchment paper if you like easier cleanup. That’s it — simple and no fuss. I usually do this while the oven preheats, so everything’s ready to go.
Step 2: Mix Dry Ingredients
In a large bowl, whisk together the flour, sugar, baking powder, baking soda, salt, and cinnamon. I always do this first—makes sure everything’s evenly distributed. It’s kind of satisfying to see all those spices and dry bits come together, and it sets a good base for the batter.
Step 3: Mix Wet Ingredients
In another bowl, whisk the eggs with the oil and vanilla until smooth. Then, stir in the grated zucchini—make sure you squeeze out as much moisture as you can, or your bread might end up a little dense. I’ve learned the hard way that excess water can mess with the texture, so drain that zucchini thoroughly.
Step 4: Combine
Pour the wet mixture into the dry ingredients and fold gently just until combined. Don’t overmix—this keeps the bread tender. A few lumps are OK! Overmixing can make it tough, so stir until everything is just blended. The batter should be thick but scoopable.
Step 5: Prepare Filling
Mix the brown sugar and cinnamon with melted butter. It’ll look like wet sand—trust me, that’s how it should be. This combo melts into the batter as it bakes, creating that irresistible swirl.
Step 6: Layer & Swirl
Spread about half of the batter into your prepared loaf pan—use a spatula to smooth it out. Sprinkle half of the cinnamon sugar on top, then add the rest of the batter. Drop spoonfuls all over and use a skewer or butter knife to swirl through both layers, creating a marbled effect. Practice makes perfect here—I’ve learned to be gentle so the swirl looks pretty and isn’t just a big mess.
Step 7: Bake
Pop it into the oven and bake for about 50-60 minutes. Check with a toothpick inserted in the center—if it comes out clean, you’re good! Oven temperatures can vary, so I always start checking around 50 minutes. If the top is browning too fast, tent it with foil midway through baking.
Step 8: Cool & Glaze
Let the bread cool in the pan for about 15 minutes, then transfer to a wire rack. Once fully cooled, if you’re adding glaze, whisk together powdered sugar with a splash of milk and vanilla. Drizzle on top and let it set for a few minutes. The glaze is optional but adds a lovely glossy finish and little extra sweetness.
Step 9: Slice & Serve
Use a serrated bread knife for clean slices. I love it slightly warm with a pat of butter or a smear of cream cheese. It’s equally delightful cold—either way, it’s a comfort you can’t go wrong with. Beautiful, moist, and packed with flavor, this zucchini swirl bread always disappears fast at my house.
What to Serve It With
This loaf is so versatile—it fits just about every occasion. For breakfast, pair it with a strong cup of coffee or a glass of cold milk. I like to pile it high with fresh berries or a smear of cream cheese for extra richness. It’s also perfect for brunch—serve slices alongside a fruit salad or some whipped yogurt. When I want to elevate it into dessert territory, I drizzle a simple glaze or dust it with powdered sugar, then serve with a scoop of vanilla ice cream or a dollop of mascarpone. My family loves to toast pieces the next day and spread them with jam or honey—they say it’s like a cinnamon stick in bread form. For a cozy snack, I slice it thick and enjoy with tea, or even with a spread of almond butter. Whatever you choose, it’s comfort food at its best—something I always keep on hand for a quick, satisfying treat.
Top Tips for Perfecting Your Zucchini Swirl Bread
Over my years of making this, I’ve picked up a few tricks that really make a difference. First, squeezing out as much moisture as possible from the zucchini is key—otherwise, you end up with a dense loaf. I usually pat it dry with a clean towel or press it in a sieve. For the batter, don’t overmix; just fold until combined to keep it light. When swirling the cinnamon sugar, I suggest dropping spoonfuls and gently running a skewer through to create pretty marbling—patience makes for better patterns! If you want to customize the flavor, try adding chopped nuts or mini chocolate chips into the batter or dusting the top with coarse sugar for crunch. I’ve tested with honey instead of sugar, and it turned out well—just reduce the liquid slightly. Baking is about observation, so keep an eye on the bread, especially in the last 10 minutes. The toothpick test never fails—if it comes out clean, you’re done. Also, placing the loaf on the middle rack ensures even baking and a nice golden top. Once cooled, I’ve learned that wrapping it tightly keeps it fresh for a couple of days, but honestly, it’s so tasty, it rarely lasts more than a day at my house.
Storing and Reheating Tips
This bread is best enjoyed fresh, but if you need to store it, here’s what I do. At room temperature, I keep it loosely wrapped in foil or a paper bag—no plastic—that way it stays moist but doesn’t get soggy. It’ll stay good for about 2 days this way. For longer storage, pop slices in an airtight container and refrigerate—you can reheat slices in the microwave for about 15 seconds or toast them; they stay surprisingly tender. If you want to keep it for a week or more, freezing is your friend: wrap slices tightly in plastic wrap, then in foil, and freeze for up to 3 months. Thaw at room temp and reheat briefly to enjoy like fresh. I usually wait to glaze until just before serving, especially if I want to keep that shiny, glossy appearance. This way, the glaze stays bright and flavorful. Every method preserves the bread’s moist crumb and rich cinnamon swirl, so no matter how you store it, it’s still a treat.
Frequently Asked Questions
Final Thoughts
If you’re hunting for that cozy, comforting bread that’s both pretty to look at and even better to taste, this zucchini swirl bread is a total winner. It’s a wonderful way to use up garden zucchinis, and it feels like giving yourself a warm hug with every slice. I’ve made this countless times, tweaking little things here and there, and I’m still surprised how adaptable and forgiving it is. Every batch turns out moist, flavorful, and with just the right swirl pattern—kind of like a little work of art. Plus, it’s a hit with family and friends, and I love how something so simple can bring so much joy. If you try it, I’d love to hear how yours turned out or what variations you added. Don’t forget—baking is all about having fun, so go ahead and make it your own. Happy baking, and I can’t wait to hear how yours turns out!
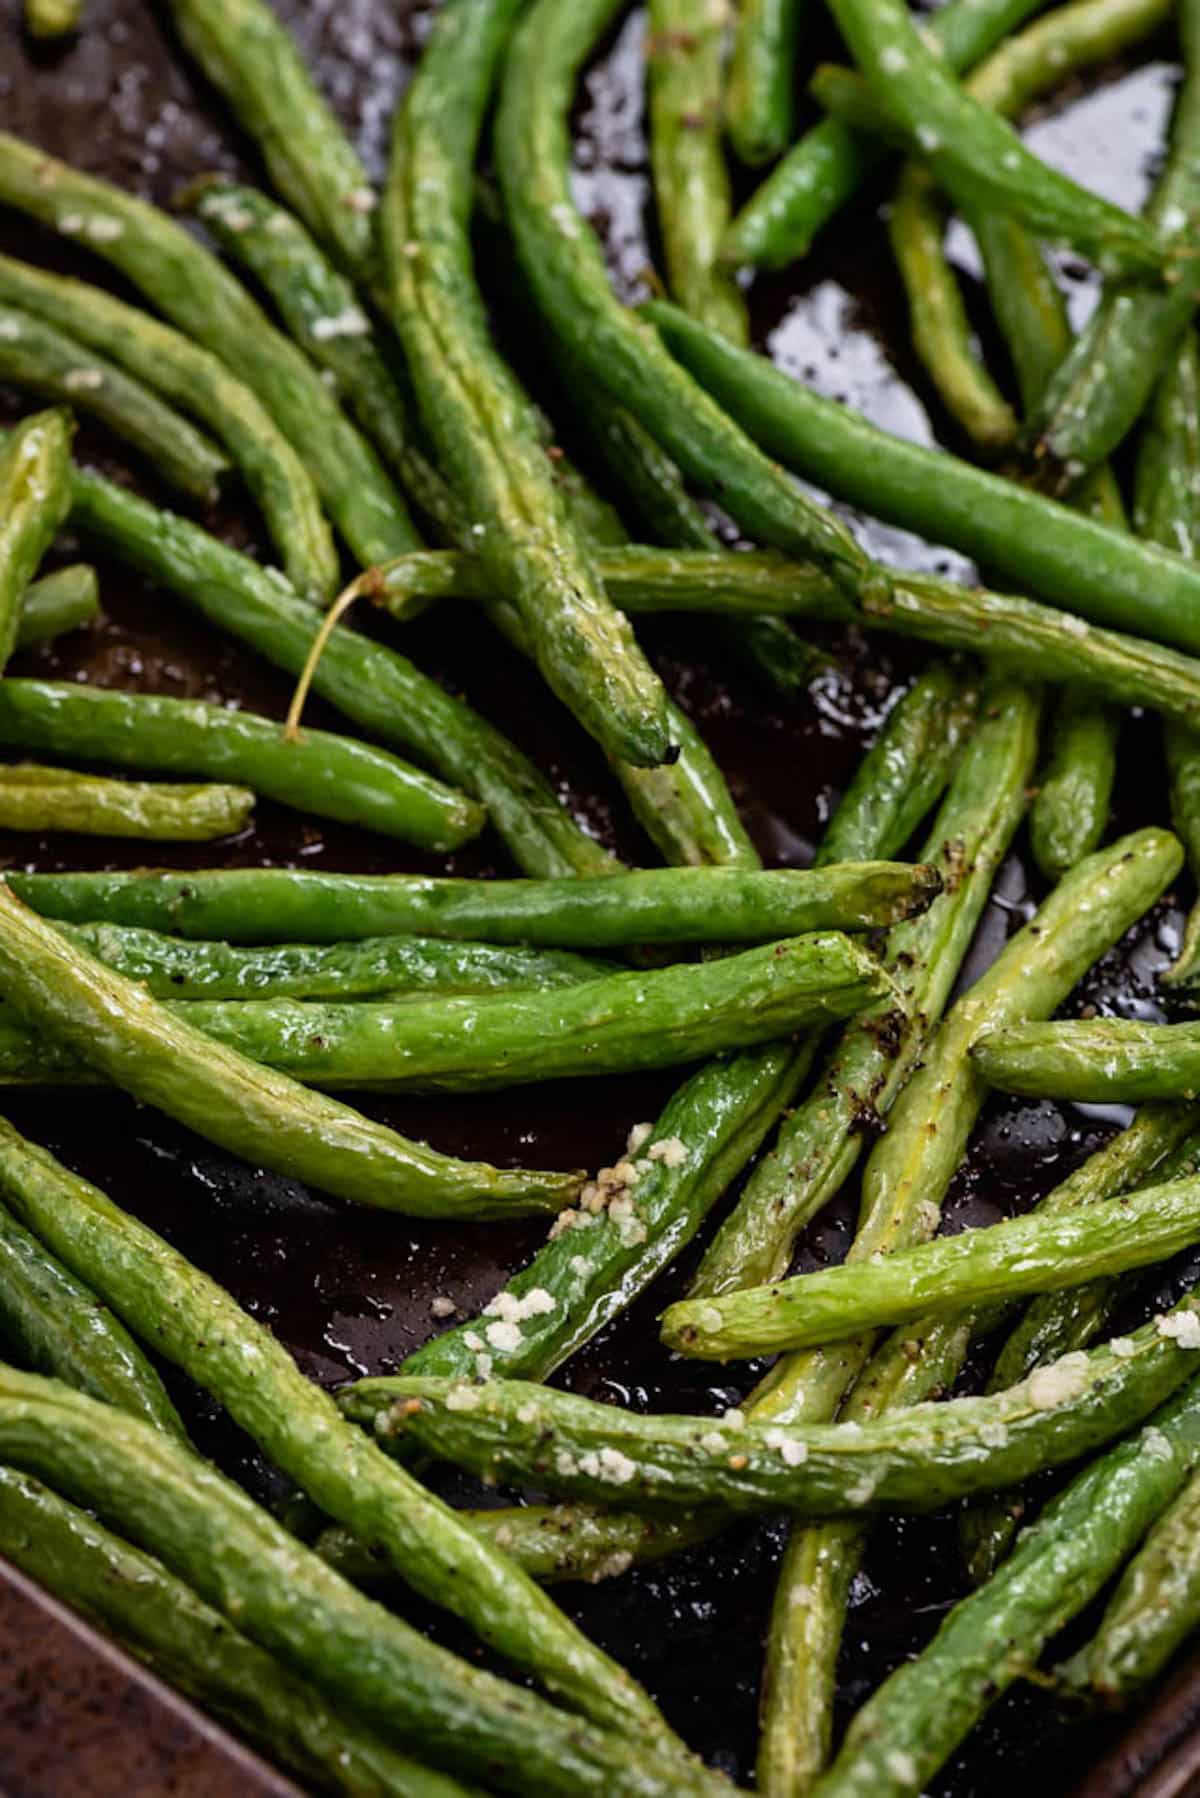
roasted garlic green beans
Ingredients
Method
- Preheat oven to 400°F.
- Place green beans in a large bowl. Add olive oil and garlic, toss to coat.
- Cover a cookie sheet with foil and spray with nonstick cooking spray. Spread green beans in a single layer on the cookie sheet.
- Roast for 20-30 minutes, or until green beans are browned and cooked.