Creamy Frozen Curd Delight How to Make It
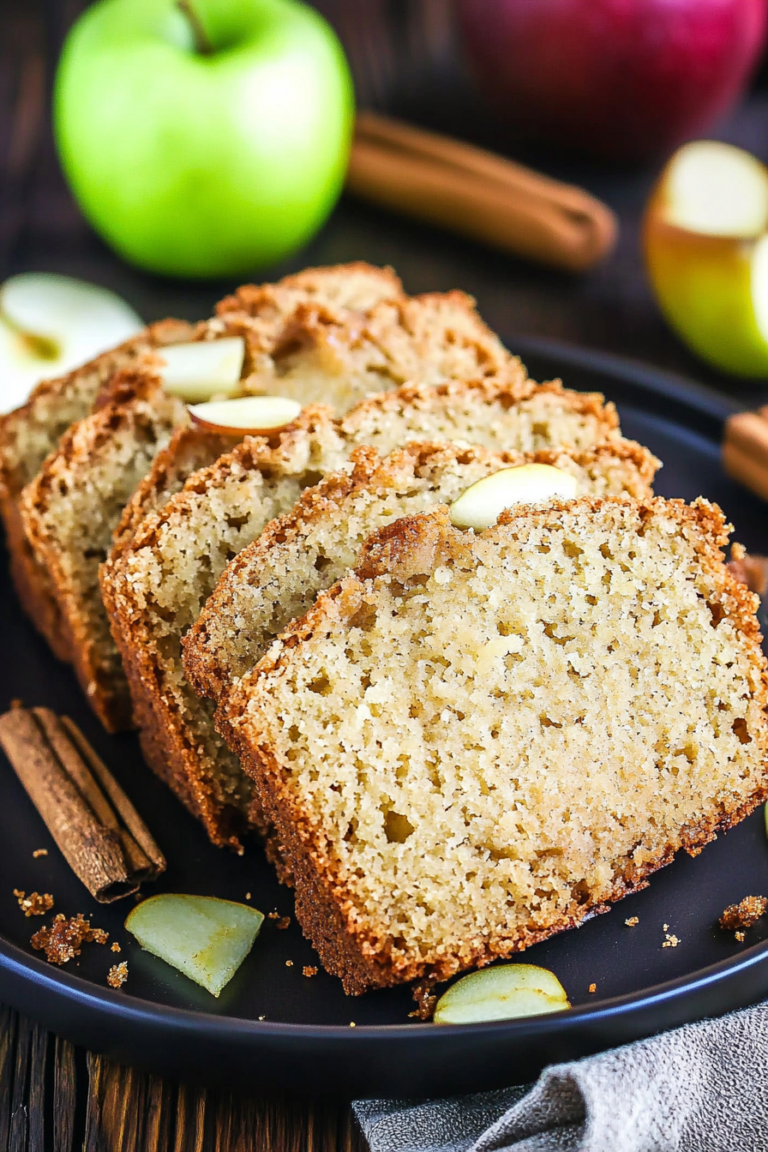
There’s just something magical about pulling a warm slice of cake from the oven, especially when that cake is bursting with unexpected goodness. I remember the first time I made this zucchini chocolate swirl cake—it was late one Sunday afternoon, and I was craving something sweet but didn’t want to spend hours in the kitchen. I always do this when I have a bunch of zucchinis leftover from the garden or the farmer’s market. The smell alone—that rich chocolate aroma blended with the fresh-earthy scent of zucchini—immediately turns my house into a cozy bakery. My kids ask for this all the time, and honestly, it’s become kind of a family secret. It’s moist, tender, and the swirl of chocolate makes every bite feel like a little surprise. Plus, it’s crazy easy to make, and I love that I can sneak in some veggies without anyone noticing! Trust me on this one — it’s a go-to comfort food that disappears faster than you’d believe.
What is Zucchini Chocolate Swirl Cake?
This cake is essentially a tender, moist loaf that combines shredded zucchini and rich cocoa to create a surprisingly decadent treat. Think of it as a mash-up of a classic chocolate loaf and a healthier veggie snack—it’s the perfect way to get your kids (or even yourself) to eat zucchini without a fuss. The “chocolate swirl” part comes from gently swirling melted chocolate or cocoa batter through the zucchini base before baking, giving each slice a beautiful marbled pattern and bursts of chocolate in every bite. It’s a simple, rustic cake that’s more than just a dessert—it’s comfort in every forkful. The name sounds fancy, but it’s one of those recipes that’s incredibly forgiving and adaptable. I’ve tested it with different types of cocoa, and it always turns out amazing. This is the kind of cake you bake when you want to indulge a little without feeling totally guilty—because, hey, there’s zucchini in there! It’s ideal as a quick afternoon treat or a breakfast cake that’s just fancy enough to impress.
Why you’ll love this recipe?
What I love most about this zucchini chocolate swirl cake is its perfect balance of flavor and ease. The chocolate… oh, the chocolate! It’s honestly what keeps everyone coming back for seconds. The cocoa gives it that deep, satisfying richness, but the zucchini keeps it so moist and tender—kind of like a secret VIP ingredient that’s sneaking in some extra nutrition. Plus, it’s inherently simple. You throw everything together in one bowl, swirl in the melted chocolate, and pop it in the oven. No fancy equipment needed. Budget-wise, it’s also super friendly—most of the ingredients are staples I already keep in my pantry and fridge. And versatility? This cake can be breakfast, dessert, or a snack. I’ve served it warm with a dusting of powdered sugar, chilled with whipped cream, or even with a drizzle of caramel. Honestly, it’s one of those recipes that works for so many occasions and always makes me feel like I’m doing something a little special, even if I’m just baking on a busy weekday.
How do I make Zucchini Chocolate Swirl Cake?
Quick Overview
This cake may look fancy, but it’s truly straightforward. You start by shredding zucchini and mixing it into a simple batter of flour, cocoa powder, eggs, and a touch of sugar. Then, melt some chocolate and swirl it into the batter before baking. The magic happens as the chocolate marbles through the moist zucchini base, creating a gorgeous pattern and irresistible flavor combo. My favorite part? It’s so forgiving—overmixing rarely ruins it, and even leftover zucchini turns into a fluffy, fudgy slice. Whether you’re a beginner or a seasoned baker, you’ll love how quick it is to pull together. Plus, your house will smell incredible.
Ingredients
For the Main Batter:
– 2 cups shredded zucchini (squeeze out excess moisture, don’t skip this step!)
– 1 1/2 cups all-purpose flour (or gluten-free blend, see tips below)
– 1/2 cup unsweetened cocoa powder (preferably Dutch-processed for richer color and flavor)
– 1 teaspoon baking soda
– 1/2 teaspoon salt
– 1 cup granulated sugar
– 1/2 cup brown sugar
– 3 large eggs
– 1/2 cup vegetable oil (or melted coconut oil for a subtle coconut aroma)
– 1 teaspoon vanilla extract
For the Filling:
– 3/4 cup good quality dark chocolate, chopped or chocolate chips (I test with semisweet, and it’s just perfect)
– 2 tablespoons butter or coconut oil (for melting the chocolate, optional but makes it silkier)
For the Glaze:
– 1/2 cup powdered sugar (for dusting, optional but pretty)
– Extra melted chocolate for drizzling if desired
Step-by-Step Instructions
Step 1: Preheat & Prep Pan
Set your oven to 350°F (175°C). Grease your loaf pan or line it with parchment paper—this cake loves a good non-stick surface. If you want a crisper crust, a light spray of baking spray works wonders. I always do this to make sure nothing sticks, but if you’re using parchment, you’re all set.
Step 2: Mix Dry Ingredients
Whisk together the flour, cocoa powder, baking soda, and salt in a large bowl. This step ensures everything’s evenly distributed and prevents clumping. It’s simple but crucial—the cocoa can sometimes form lumps, so I like to sift it in if I have a fine mesh sieve handy.
Step 3: Mix Wet Ingredients
In another bowl, beat the eggs with sugars until combined and a little fluffy. I personally like using a whisk here—it just mixes everything more evenly. Then, stir in the oil and vanilla until smooth. The mixture might look a little oily—don’t worry, that’s what keeps the cake moist!
Step 4: Combine
Pour the wet mixture into the dry ingredients. Gently fold together with a spatula. The trick here is not to overmix—stop as soon as it’s just combined. Overmixing can make the cake dense, and no one wants that. If you see a few lumps, that’s totally fine.
Step 5: Prepare Filling
While the batter rests for a couple of minutes, melt the chocolate with butter or coconut oil in the microwave in 20-second bursts, stirring in between. When it’s smooth and glossy, set aside ready to swirl in.
Step 6: Layer & Swirl
Pour about half of the batter into your prepared pan. Then, spread or dollop the melted chocolate over the surface. Top with the remaining batter, and using a butter knife or skewer, gently swirl the chocolate into the batter. You want a marbled effect, so swirl in a figure-eight pattern. This step is what makes the cake so beautiful and keeps every slice interesting.
Step 7: Bake
Pop it into your preheated oven and bake for about 45-50 minutes. I suggest starting to check around 45 minutes—insert a toothpick in the center, and if it comes out with moist crumbs but no wet batter, it’s ready. The house will fill with that warm cocoa smell; it’s almost unfair how cozy it feels. If your oven runs hot, check a little earlier.
Step 8: Cool & Glaze
Allow the cake to cool in the pan for about 15 minutes, then transfer to a wire rack to cool completely. This prevents sogginess. Once cool, dust with powdered sugar or drizzle with extra melted chocolate for that beautiful finishing touch.
Step 9: Slice & Serve
Use a sharp serrated knife for clean cuts. Serve slightly warm or at room temp—either way, it’s delicious. I love serving this with a dollop of whipped cream or a scoop of vanilla ice cream if I want to fancy it up.
What to Serve It With
This cake is so versatile, I often serve it in different ways depending on the occasion. For breakfast, I love a slice alongside my morning coffee, maybe topped with a smear of Greek yogurt or a handful of berries. The slightly bitter cocoa pairs beautifully with the bright freshness of fruit, making it feel fancy but still cozy.
At brunch, it’s our secret weapon—serve it with a steaming cup of espresso or a glass of cold milk. It’s a hit when I entertain friends too, cut into thick slices and topped with a little whipped cream or caramel drizzle. My family’s favorite is warm, with melted chocolate inside—that’s basically pure comfort food in every bite.
Leftovers? It re-heats beautifully in the microwave for a minute or two. Or, for a quick snack, I sometimes crumble a piece over yogurt or cereal. This cake is so adaptable; I think I’ve even used it as a filling for layered cakes—just slice and spread with frosting, and you’ve got a homemade chocolate zucchini torte!
Top Tips for Perfecting Your Zucchini Chocolate Swirl Cake
Over the years, I’ve picked up a few tricks to make this cake even better. First, always squeeze out as much moisture from the zucchini as you can—wet zucchini can make the batter too runny, and nobody wants a soggy bottom. I’ve tested slicing the zucchini very finely or grating it coarse—I prefer the finer because it distributes more evenly, but both work fine. Just be consistent.
When mixing the wet and dry ingredients, gentle folding is key. Overmixing can turn the batter dense and heavy—trust me, I’ve been there. I’ve learned to stop when everything just looks combined; that fluffiness I want comes from minimal stirring. Also, I love adding a sprinkle of cinnamon or a dash of espresso powder to enhance the chocolate flavor—tiny tweaks that make a big difference.
For the swirl pattern, don’t rush. Swirl gently and visualize the pattern you want—it makes for a prettier, more artsy cake. And don’t forget to test for doneness—every oven is a bit different. If your toothpick comes out with a few moist crumbs, it’s perfect. I’ve had cakes that bake a little longer than expected, so patience is key.
As for the glaze or topping, I’ve experimented with coconut flakes, chopped nuts, or even a splash of liqueur in the chocolate before swirling. Keep it simple, or go wild—either way, it’s almost impossible to go wrong with this one.
Storing and Reheating Tips
Leftovers are rare at my house, but when I do have a slice or two, I store it in an airtight container. If kept at room temperature, it stays fresh for about a day—cover it loosely with foil or a clean cloth. If you want to keep it longer, refrigerate it—just wrap it well, or pop it in a resealable container. It’s still moist and delicious for up to 4 days.
If you’re planning to freeze it, wrap the whole cake tightly in plastic wrap and then foil. It will keep for about 3 months. To reheat, let it thaw overnight in the fridge or warm a slice in the microwave for about 20 seconds—trust me, it’s just as good, if not better, when heated.
Adding the glaze fresh is best—if you’ve darkened the cake with refrigeration, simply warm a little more melted chocolate and drizzle over the top right before serving. It keeps the visual appeal and the flavor just perfect.
Frequently Asked Questions
Final Thoughts
This zucchini chocolate swirl cake has become one of those recipes I turn to when I want something comforting but also kind of wholesome. It’s a celebration of how simple ingredients can come together to create something a little special—perfect for lazy Sundays, after-school treats, or last-minute dinner parties. The best part? It’s forgiving. If you’re not a perfect measure-er or if you forget to squeeze out your zucchini super dry, it still turns out fantastic. Every time I make this, I’m reminded that baking isn’t just about measuring; it’s about love, creativity, and a little bit of messiness too. So go ahead, grab those zucchinis, melt some chocolate, and give this beauty a try. I promise, your kitchen will smell incredible, and your family will thank you. Can’t wait to hear how yours turns out—happy baking!
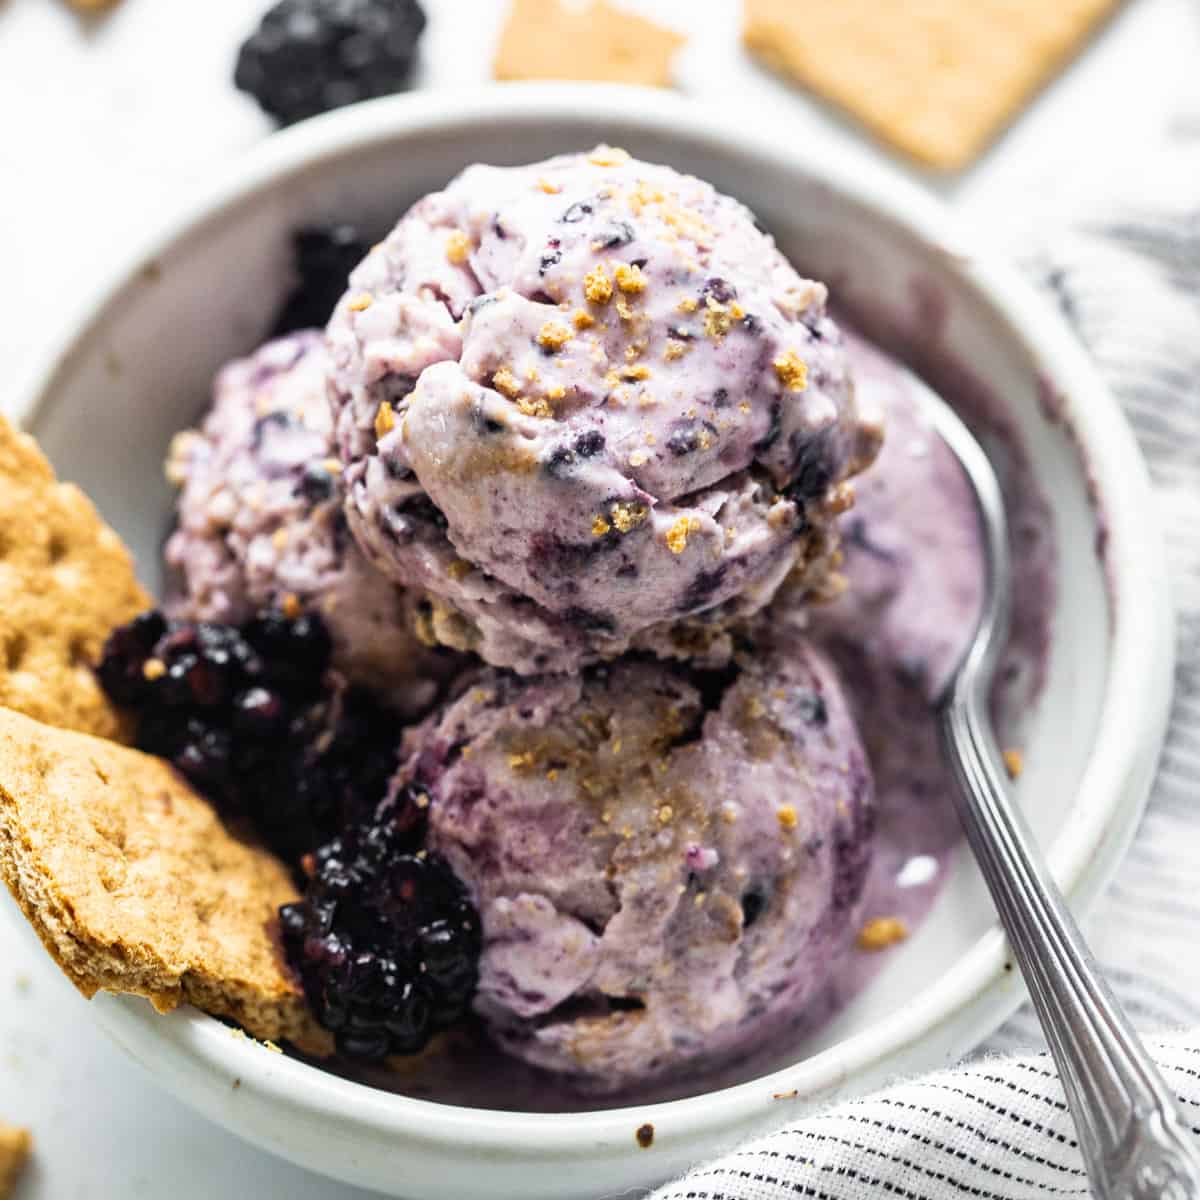
cottage cheese ice cream
Ingredients
Method
- Add the cottage cheese, honey, and vanilla extract to a high-speed food processor. Process on high until thick and creamy, between 3-5 minutes.
- Next, add 1 cup of blackberries to the food processor and pulse until the blackberries are just broken up and combined. The cottage cheese will turn a slight purple color.
- Pour the mixture into a bowl or a loaf pan. Crumble two of the graham crackers on top and fold them into the mixture until combined.
- Top with the remaining blackberries and crumble one last graham cracker over the top. Option to top with salt.
- Cover and place in the freezer for at least 4-6 hours or overnight.
- Serve in a dish or on an ice cream cone.