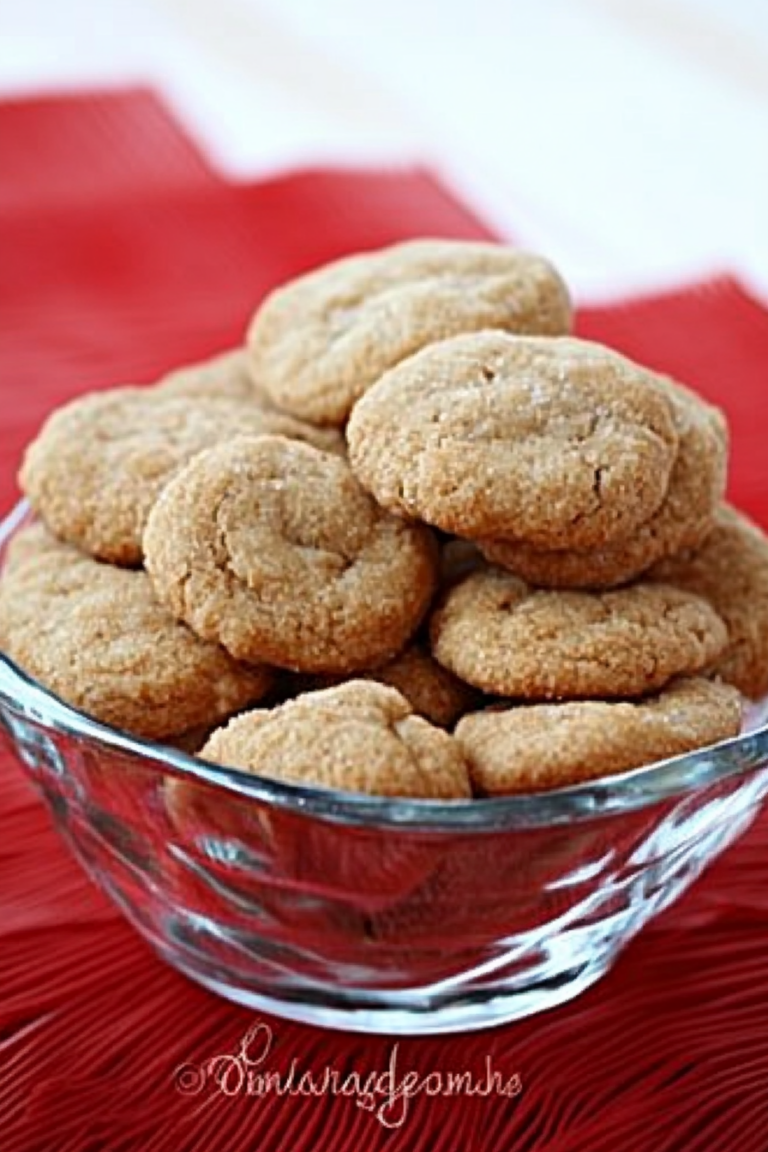
Amazing Monster Cookie Recipe Explained
Honestly, there’s something about browned edges and swirls of sweet filling that just pulls at my heartstrings. I remember my grandmother baking something similar, the whole house smelling like warm vanilla and cinnamon, making my childhood mornings feel like a hug. Over the years, I’ve tinkered and played around, and I finally found my version of this zucchini swirl loaf — a recipe that’s become my go-to when I want something homemade, cozy, and just a little bit special. It’s one of those dishes that’s incredible in flavor but surprisingly simple to pull together, even on my busiest days. I love making it for family brunch, and my kids ask for it all the time — they call it “the cinnamon zucchini bread,” even if we don’t always add cinnamon. Honestly, this one’s a lifesaver on busy nights when I need a quick, comforting treat that everyone devours in minutes. Trust me, once you try this, it’ll become a family classic in your house too!
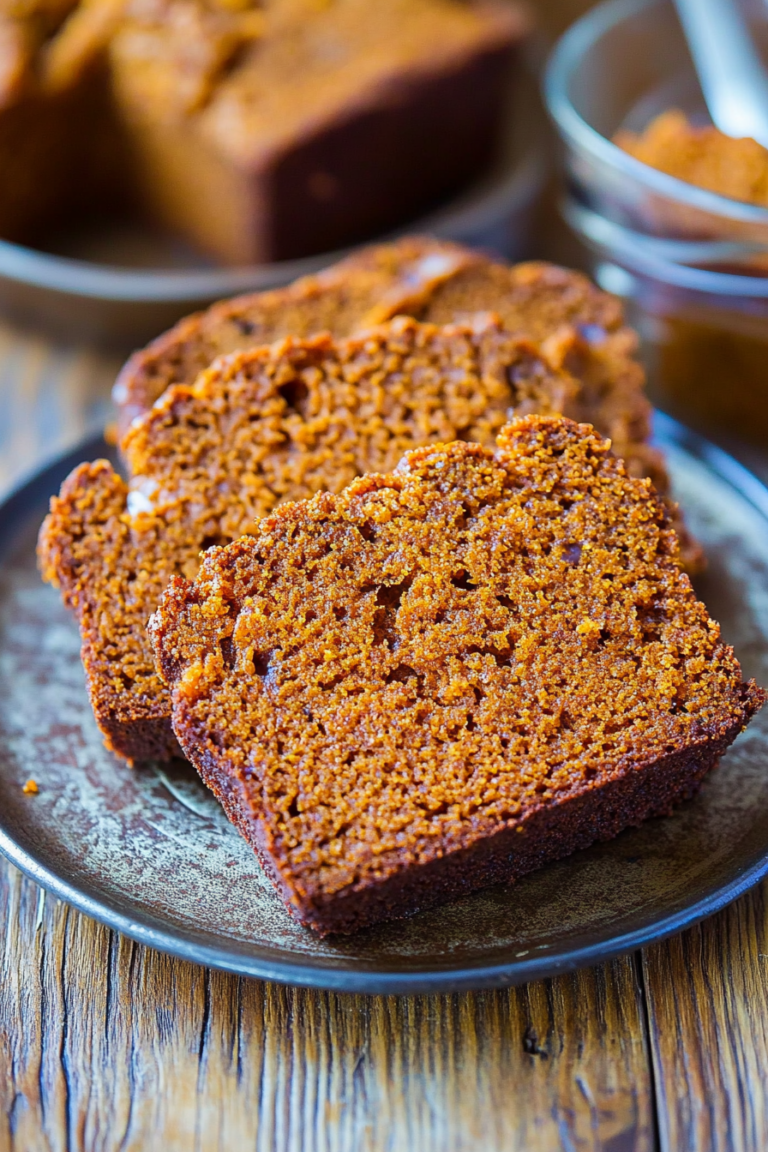
What is Zucchini Swirl Loaf?
Think of this zucchini swirl loaf as a cozy, slightly grown-up berry bread but with a tender, moist crumb and a surprise inside. It’s essentially a soft bread cake with a swirl of sweet filling, usually made from cinnamon, sugar, and sometimes nuts or chocolate chips. The name “zucchini” might throw you off if you’ve only ever seen it in savory dishes, but here, it’s the secret ingredient that keeps the loaf moist and adds a subtle veggie richness without overpowering the sweetness. The whole idea started in my kitchen as a way to sneak in some veggie goodness for my picky eaters — and it worked! The zucchini melts into the batter, adding moisture and a tiny bit of earthiness that I really love. Plus, it’s a great way to use up those summer zucchinis that threaten to overwhelm your garden. Think of it as a cozy, nutritious shortcut to bakery-level flavor that you can enjoy anytime — breakfast, brunch, or a sneaky afternoon snack.
Why you’ll love this recipe?
What I love most about this zucchini swirl loaf is how it strikes a perfect balance between indulgent and wholesome. The flavor? *Heavenly.* It’s sweet without feeling over-the-top, with just enough cinnamon and vanilla to remind you of those warm mornings at grandma’s house. The texture is what really makes it stand out — moist, yet fluffy, with a tender crumb that practically melts in your mouth. It’s also one of the easiest baked goods I’ve ever made from scratch. No fancy equipment required—just a bowl, a whisk, and a bit of patience. Plus, it’s budget-friendly because the ingredients are staples I always have on hand. You can switch up the filling, too; chocolate chips for a decadent twist, or chopped nuts for crunch. Honestly, this is my “kitchen hug,” and I know once you try it, you’ll be hooked. It’s perfect for breakfast on lazy weekends, brunch gatherings, or when you just need a quick, comforting treat. My favorite part? How flexible it is! I’ve tested it with alternative flours, almond milk, even a sprinkle of cardamom — and each time, it turns out just as good. Trust me on this — once you make it a couple of times, you’ll have your own little tweaks that make it even more special.
How do you make Zucchini Swirl Loaf?
Quick Overview
This zucchini swirl loaf comes together in about an hour, give or take. You start by grating some zucchini (no peeling needed—just a quick rinse and grating), then mix it into a simple batter made with flour, sugar, eggs, and a touch of vanilla. While that’s baking, you prepare your sweet swirl filling with cinnamon, sugar, and butter. Layer the batter in a loaf pan, add dollops of filling, and swirl them together with a toothpick or a skewer — don’t overmix! It’s basically a cake that’s as cozy as your favorite blanket. And the best part? It makes your house smell incredible while baking. In less than an hour, you’re slicing into moist, flavorful goodness that’s better than any store-bought treat.
Ingredients
For the Main Batter:
- 2 cups all-purpose flour (I actually tested with half almond flour, and it was still delicious!)
- 1 1/2 teaspoons baking powder
- 1/2 teaspoon salt
- 1 teaspoon ground cinnamon (or more if you love it like I do!)
- 1/2 cup granulated sugar
- 1/2 cup brown sugar (for a richer flavor)
- 2 large eggs
- 1/2 cup vegetable oil or melted butter
- 1 teaspoon vanilla extract
- 1 small zucchini, grated and excess moisture squeezed out
For the Filling:
- 1/4 cup softened butter
- 2 tablespoons cinnamon
- 1/4 cup packed brown sugar (more if you want it super sweet)
- Optional: chopped nuts or chocolate chips for extra texture
For the Glaze (optional but recommended):
- 1/2 cup powdered sugar
- 1-2 teaspoons milk or cream
- 1/4 teaspoon vanilla extract
Step-by-Step Instructions
Step 1: Preheat & Prep Pan
I always set my oven about 350°F (175°C) early on, so I’m not rushing. Grease your loaf pan well — I like to use butter and a light dusting of flour or line it with parchment paper. This makes sure nothing sticks and the loaf comes out easy.
Step 2: Mix Dry Ingredients
In a big bowl, whisk together your flour, baking powder, salt, and cinnamon. This builds the foundation for your batter and prevents clumps — trust me, taking that extra minute makes a difference.
Step 3: Mix Wet Ingredients
In another bowl, beat the eggs, then add oil, vanilla, and sugars. Whisk until combined — the mixture should look smooth and slightly glossy. I’ve found that using room temperature eggs helps everything blend better.
Step 4: Combine
Pour the wet ingredients into the dry and fold gently — don’t overmix or your loaf might get a little tough. Just until everything is just combined, that’s the secret. It’s okay if there are a few streaks of flour.
Step 5: Prepare Filling
Mix softened butter, cinnamon, and sugar. If you’re feeling fancy, stir in nuts or chocolate — I’ve done both and loved the variations. The filling should be thick enough to dollop but soft enough to swirl easily.
Step 6: Layer & Swirl
Pour half the batter into your prepared pan, then dollop half the filling on top. Add the remaining batter and the rest of the filling. Use a knife or a skewer to gently swirl—don’t overdo it, just enough to create pretty marbling. I like to do a zig-zag pattern to keep it interesting.
Step 7: Bake
Pop it in the oven for about 40-50 minutes. Check with a toothpick; if it comes out clean, you’re good. Sometimes mine needs a little longer if I’ve added extra goodies or if my oven runs cool.
Step 8: Cool & Glaze
Let it cool in the pan for 10-15 minutes, then transfer to a wire rack. Once cooled slightly, drizzle with your glaze if using. It adds just that extra touch of sweetness and makes it look pretty for serving.
Step 9: Slice & Serve
Use a serrated knife to get clean slices. Serve warm or at room temperature — my family loves it slightly warm with a dollop of yogurt or a smear of butter. It’s perfect with coffee or tea, and the house will smell divine.
What to Serve It With
This loaf is so versatile. I serve it in a bunch of different ways depending on the occasion:
- For Breakfast: Pair it with fresh fruit and a strong cup of coffee. The smell alone gets everyone excited in the morning!
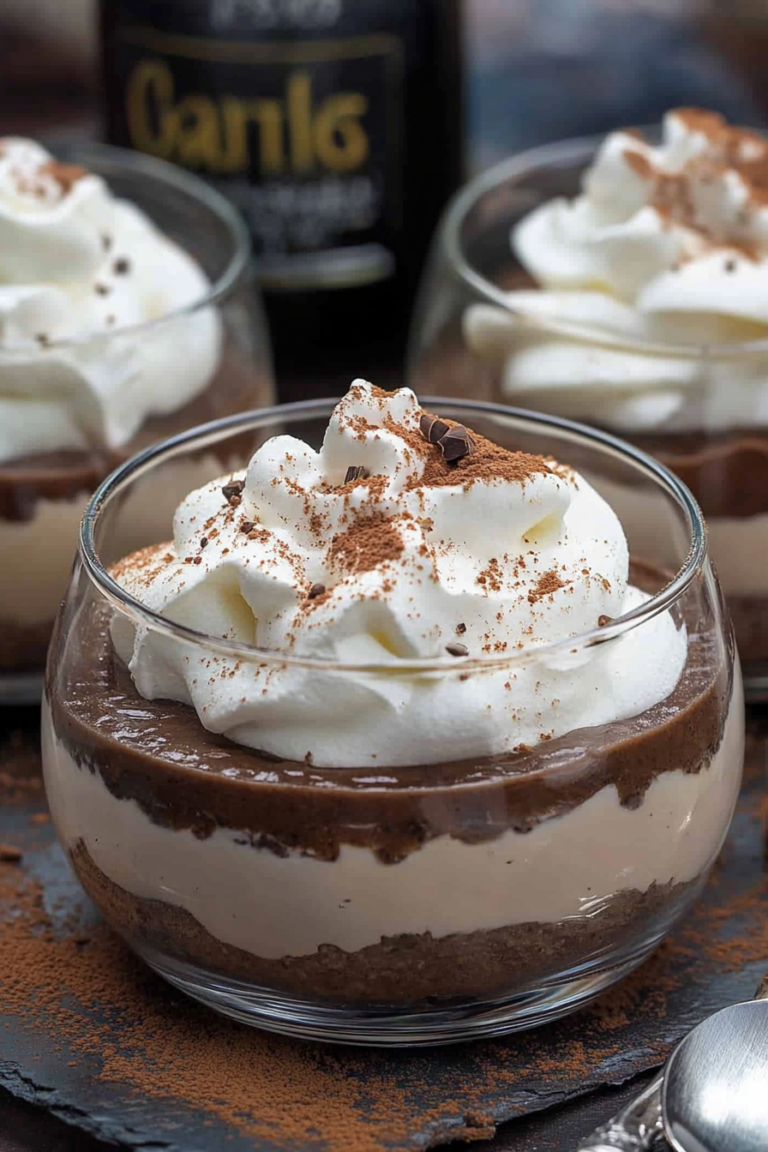
- For Brunch: Serve slices with little bowls of fresh berries, whipped cream, or Greek yogurt. It makes the table look inviting and cozy.
- As Dessert: Warm slices topped with vanilla ice cream or a scoop of mascarpone — it’s decadent but still feels wholesome. My kids even ask for it as a after-dinner treat!
- For Casual Snacking: Cut extra thick and toast in the morning, spread with cream cheese or honey. It keeps well, too, so I often pack a slice for lunchboxes.
It’s the kind of recipe that feels comforting no matter when you serve it, and it’s become a favorite secretly loved by everyone in my house. I’ve done it with zucchini from the garden, and honestly, it just tastes even better with fresh, summery produce. It’s become a little tradition I cherish, making mornings brighter, and afternoons sweeter.
Top Tips for Perfecting Your Zucchini Swirl Loaf
After making this a dozen times, I’ve learned a few tricks that might help you get flawless results:
- Zucchini Prep: Always squeeze out excess moisture — I wrap the grated zucchini in a clean dish towel and give it a good squeeze. Too much liquid can make the loaf soggy, and nobody wants that!
- Mixing Advice: Overmixing their batter can turn the loaf dense. Fold gently, just until everything’s combined. Think of it as folding in a delicate fabric.
- Swirl Tips: When layering and swirling, don’t be overly aggressive — just a few gentle swipes with your skewer will create lovely marbling without blending everything into one uniform color.
- Ingredient Swaps: Want to make it healthier? Swap half the sugar for honey or maple syrup — just reduce the liquids slightly. Looking for a gluten-free option? Try a 1:1 gluten-free flour blend, and make sure not to overmix.
- Baking Tips: If you notice the top browning too quickly, tent it with foil. Every oven bakes differently, so start checking around 35 minutes if you’re unsure.
- Glaze Variations: For a citrus twist, add lemon or orange zest into the powdered sugar glaze. Or sprinkle some coarse sugar on top before baking for a little sparkle.
My biggest lesson? Patience! The first few times I made this, I was nervous about over-swirl or underbaking. But honestly, once you get the hang of the layering, it’s a breeze. The result — a moist, flavorful loaf that looks as lovely as it tastes — makes all the effort worth it.
Storing and Reheating Tips
This loaf is actually better the next day — flavors settle in, and it stays nice and moist. Keep what’s left in an airtight container at room temperature for about 2 days. If you want it to last longer, wrap tightly and refrigerate for up to 5 days. Just warm slices slightly in the microwave — it only takes 10-15 seconds — for that fresh-baked feeling. If freezing, wrap slices individually, so you can grab just what you need. It’s honestly a game-changer for busy mornings or snack emergencies. Thaw for about 30 minutes at room temperature or microwave on low. Keep in mind: the glaze is best added fresh, so if you’re freezing, wait until before serving. I’ve tried storing with the glaze on, but it tends to get a little sticky after a day or two. So, if you’re making it ahead, I recommend adding the glaze right before serving for that perfect shiny finish.
Frequently Asked Questions
Final Thoughts
Honestly, this zucchini swirl loaf has quietly become my family’s favorite treat. It’s cozy, comforting, and versatile enough to serve anytime — whether as a breakfast toast, a brunch centerpiece, or a sweet snack. The flavors and textures just hit that perfect spot of wholesome and indulgent, and I love that I can tailor it to whatever ingredients I have on hand. It’s one of those recipes that feels like a warm hug from the kitchen, and every time I bake it, I feel a little like my grandma smiling down at me. If you’re anything like me, you’ll get hooked on the process and the beautiful marbled look. Most importantly, it’s just a genuinely good, honest, homemade treat that you’ll want to make over and over. I can’t wait to hear how yours turns out! Drop a comment, share your variations, or just tell me how your house smells — I promise, that’s always my favorite part.
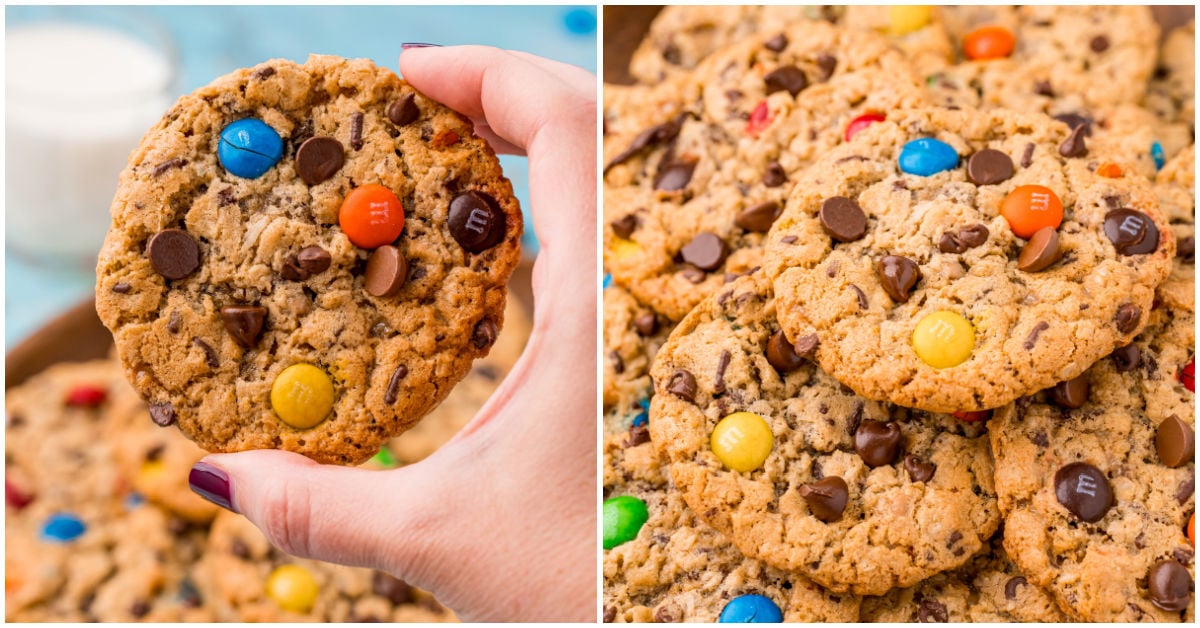
Monster Cookies
Ingredients
Method
- Preheat the oven to 350 degrees and line a baking sheet with parchment paper.
- Cream together the sugars, peanut butter, butter, and vanilla with the paddle attachment on a stand mixer. Mix on medium speed until smooth.
- Turn mixer to low speed and add the eggs one at a time, scraping down the sides as needed, until well mixed.
- Slowly add oats, flour, and baking soda and mix until combined.
- Finally, mix in the M&Ms, chocolate chips, toffee bits, and coconut on low until well combined.
- Use a medium cookie scoop to measure out dough. Place balls on the prepared cookie sheet at least 2 inches apart.
- Bake for 11 to 13 minutes until cookies start to brown. Let rest for 2 to 3 minutes on the pan before moving to a cooling rack.