Cozy Chocolate Orbs How to Make Them
If you knew me well, you’d know my kitchen is basically my happy place. And out of all the recipes I’ve tested over the years, one I keep coming back to is this zucchini swirl cake. It’s kind of like a secret family treasure — moist, subtly sweet, with ribbons of creamy filling marbled beautifully throughout. Honestly, I’ve perfected it through endless taste tests (much to my family’s delight), and I promise, it’s so simple you might just say it’s the most foolproof cake you’ll ever make. Plus, the best part? It sneaks in those veggies — yes, zucchini!— so you can justify indulging without feeling guilty. My kids actually ask for this all the time, especially when I want to whip up a treat that looks fancy but is really just a dump-and-mix kind of deal. Trust me on this one — you’ll love how a simple vegetable turns into something so rich and satisfying. Ready for a cozy baking session? Grab your zucchini — and let’s get started! This one’s a lifesaver on busy nights, I swear.
What is Zucchini Swirl Cake?
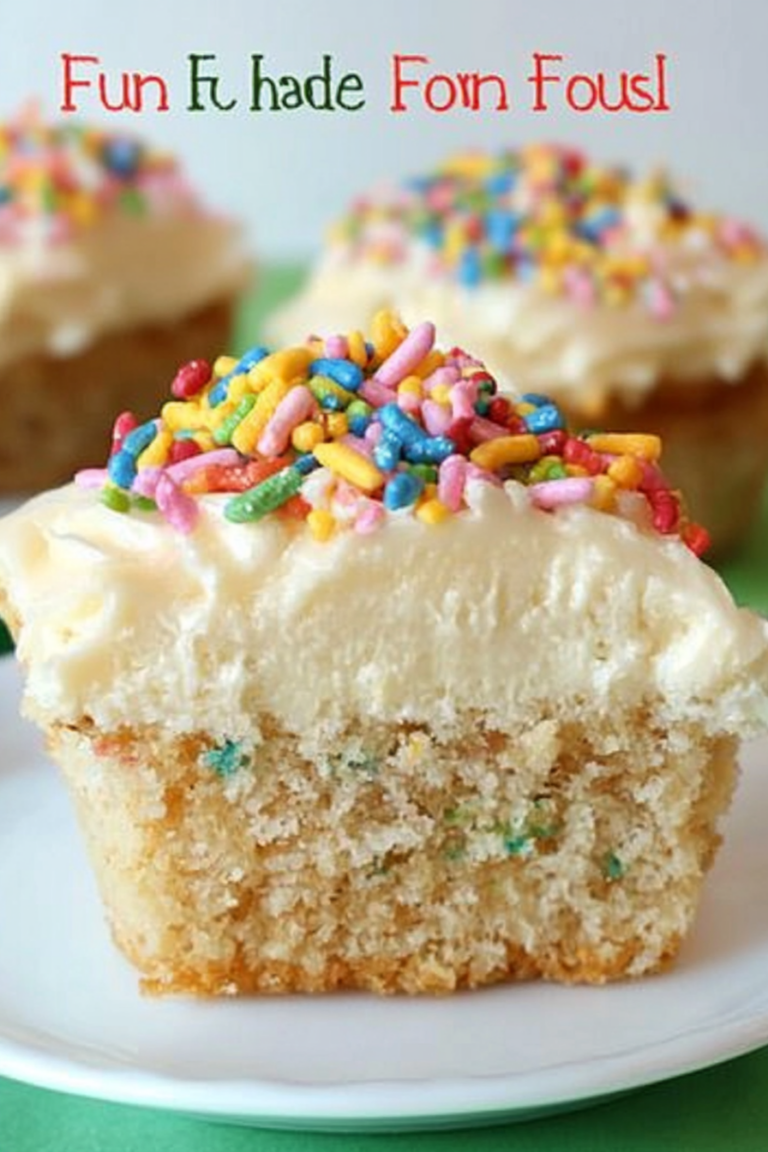
Think of zucchini swirl cake as a soft, fluffy cake dotted with lovely streaks of a sweet, creamy filling — kind of like a cinnamon roll meets marble cake. It’s essentially a moist sponge cake layered with a luscious filling, then swirled into beautiful marbled patterns. The name “zucchini swirl” hints at the star ingredient that keeps the cake incredibly tender and subtly moist. I’ve always loved how versatile this cake is — you can serve it for breakfast, brunch, or as a casual dessert for friends. It’s like that charming, understated dessert that surprises everyone with its flavor and texture. The best part? The zucchini gets so tender in the batter, no one even notices it’s there — but you’ll sure notice how moist and flavorful it makes the whole thing. It’s a straightforward recipe, perfect for when you want something homemade, comforting, and just a little bit special.
Why you’ll love this recipe?
What I love most about this zucchini swirl cake is how surprisingly delicious and adaptable it is. First off, the flavor — it’s mildly sweet, with a whisper of vanilla and cinnamon, which makes every bite warm and comforting. The zucchini adds a subtle earthiness that keeps the cake moist and tender without overpowering the sugary goodness. It’s kind of like a secret ingredient to make the cake extra special. What is ease?, this recipe is so simple — you basically dump all your ingredients into one bowl, mix until smooth, and swirl! No complicated layering or fussing. It’s also budget-friendly: most of us already have some zucchini at home, and the ingredients are pantry staples. Plus, I’ve experimented with different fillings — chocolate chips, nuts, or even a dollop of fruit preserves — and they all work beautifully, making this cake highly versatile. Honestly, what seals the deal is how good it tastes fresh out of the oven, but it also keeps well for the next day, making it perfect for busy mornings or lazy weekends. It’s a low-pressure baking project that always turns out gorgeous and flavorful, trust me.
How do I make Zucchini Swirl Cake?
Quick Overview
In just about an hour, you’ll have a moist, irresistible zucchini swirl cake that looks like it’s come straight from a bakery. The process is straightforward: grate your zucchini, whisk together your batter, prepare a luscious filling, then layer and swirl everything in your pan before baking. The secret to the marbled look? Just a gentle swirl of your filling into the batter, creating those beautiful streaks that make the cake so pretty and tempting. Once baked, a quick cool and a drizzle of glaze — or just a dusting of powdered sugar — and you’re ready to impress everyone. This method is forgiving and flexible, making it ideal whether you’re a baking pro or a total beginner.
Ingredients
For the Main Batter:
- 2 cups grated zucchini (squeeze out excess water — trust me, soggy batter is no fun!)
- 1 1/2 cups all-purpose flour (or your favorite gluten-free blend)
- 1/2 cup granulated sugar (or to taste)
- 1 teaspoon baking powder
- 1/2 teaspoon baking soda
- 1/2 teaspoon salt
- 1 teaspoon cinnamon (optional but adds cozy warmth)
- 1/2 cup vegetable oil (or melted butter)
- 3 large eggs
- 1 teaspoon vanilla extract
For the Filling:
- 1/2 cup cream cheese (softened)
- 1/4 cup powdered sugar
- 1 teaspoon vanilla
- Optional: a sprinkle of cinnamon or chopped nuts for texture
For the Glaze:
- 1 cup powdered sugar
- 2-3 tablespoons milk or lemon juice
- Extra vanilla or citrus zest if you want a flavor boost
Step-by-Step Instructions
Step 1: Preheat & Prep Pan
Start by heating your oven to 350°F (175°C). Grease a 9-inch square or round baking pan and line it with parchment paper to prevent sticking. I always do this when I want a clean, beautiful slice. Setting your oven early gets everything ready so you can work calmly without rushing.
Step 2: Mix Dry Ingredients
In a medium bowl, whisk together the flour, baking powder, baking soda, salt, and cinnamon. Doing this ensures even distribution of the leavening agents and spices — trust me, unmixing dry ingredients can lead to uneven bumps in your cake (not the good kind). Set aside.
Step 3: Mix Wet Ingredients
In a large mixing bowl, whisk together the eggs, sugar, oil, and vanilla until smooth. I find it easiest to do this with a whisk — it really lightens the mixture and gives you that nice, glossy look. Add the grated zucchini last, folding gently to incorporate without deflating the batter.
Step 4: Combine
Gradually add your dry ingredients into the wet mixture, stirring just until combined. Overmixing can make the cake dense, so stir gently and stop as soon as the flour disappears. The batter will be thick but spreadable.
Step 5: Prepare Filling
In a small bowl, stir together the softened cream cheese, powdered sugar, and vanilla until smooth. This filling is a real treat — creamy with just the right touch of sweetness. You can add a pinch of cinnamon or some chopped nuts if you want extra flavor or texture.
Step 6: Layer & Swirl
Pour half of the batter into your prepared pan, spreading evenly. Dollop spoonfuls of the cream cheese mixture over the batter, then spread the rest on top. Using a butter knife or skewer, swirl gently through the layers to create those pretty marbled streaks. Don’t overmix — you want distinct ribbons of filling!
Step 7: Bake
Pop it into your preheated oven and bake for about 40-45 minutes. The top should be golden and a toothpick inserted in the center should come out clean. Ovens vary, so start checking around 40 minutes. If it’s browning too fast, tent with foil — nobody wants burnt edges!
Step 8: Cool & Glaze
Let your cake cool in the pan for about 15 minutes, then transfer to a wire rack to cool completely. This step prevents soggy bottoms and helps your slices hold their shape. Mix up your glaze and drizzle it over the cooled cake for that glossy, delicious finish.
Step 9: Slice & Serve
Use a sharp serrated knife to cut neat slices — cutting when the cake is fully cooled makes a huge difference. Serve as is, or with a dollop of whipped cream or a dusting of powdered sugar. Honestly, it looks pretty enough to serve on a pretty plate, but I love just grabbing a fork and digging in straight from the pan when no one’s watching.
What to Serve It With
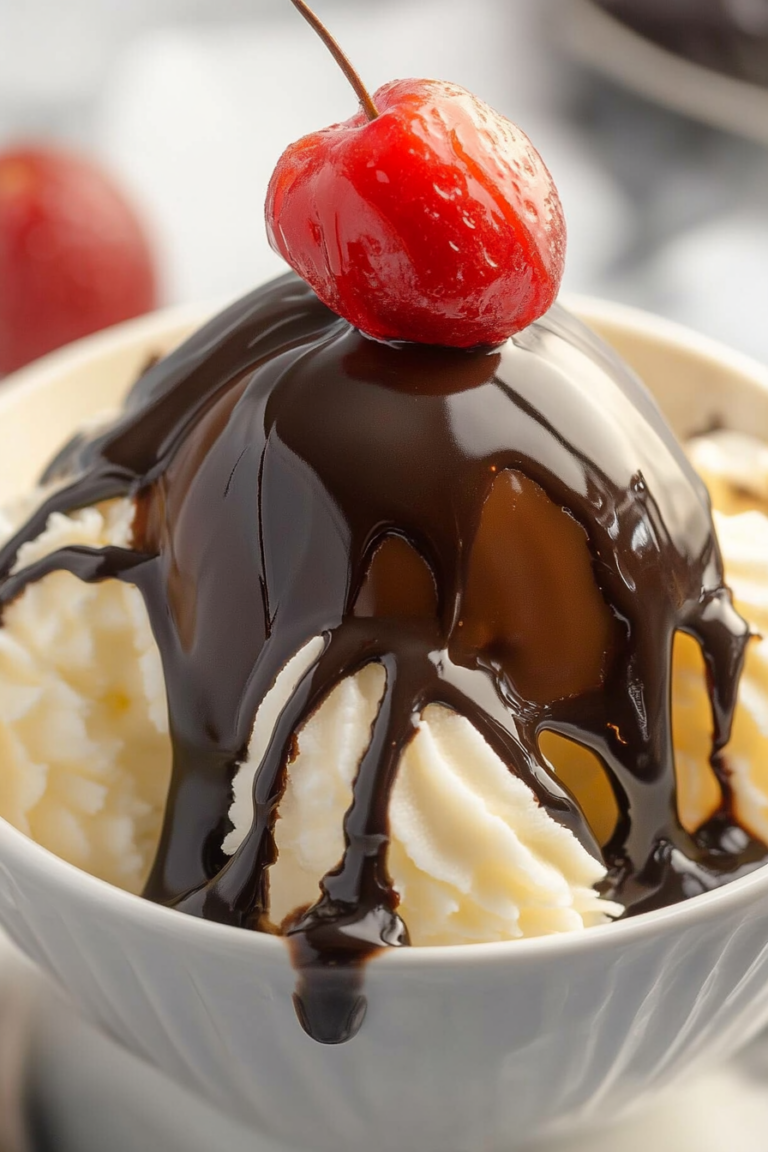
This cake is super versatile, so I’m always thinking about how I can dress it up or keep it simple. It’s perfect for breakfast — sliced thin with a hot cup of coffee. I like to serve it at brunch with fresh fruit and a splash of whipped cream — it really feels special with a light, fruity mimosa on the side. For dessert, I love a scoop of vanilla ice cream or a dusting of powdered sugar — it’s just that kind of cozy, comforting treat that you don’t need anything fancy to enjoy. My family’s favorite is pairing it with a big mug of black tea and some of my homemade jam. Honestly, this cake has become a staple for lazy weekends and quick gatherings — it disappeared in minutes at my house, told you it’s a winner.
Top Tips for Perfecting Your Zucchini Swirl Cake
Now, after making this a good dozen times, I’ve learned a few tricks that’ll make your cake turn out just perfect every time. First, prep your zucchini well — I always grate and then squeeze out as much moisture as possible. It keeps the batter from turning into a soggy mess. If you want an even more tender crumb, I’ve tested with almond milk — and honestly, it made the cake a touch creamier without losing any flavor. When mixing, don’t overdo it — just gently fold until everything’s incorporated. Overmixing can make the cake dense and heavy, and that’s the last thing we want. Swirling the filling? I found that using a skewer or a chopstick works wonders for creating those lovely streaks. For ingredient swaps, try coconut sugar for a deeper caramel flavor, or swap out the cream cheese for ricotta if you want a lighter version — both work beautifully with the zucchini.
If your oven runs hot, lower the temperature by 10-15°F to prevent overbaking. Keep an eye out for that toasted, golden top — that’s your cue to pull it out. For the glaze, I love keeping it thick enough to hold a drizzle but not so runny that it slides right off. Feel free to add a splash of lemon zest or vanilla to customize your glaze. My biggest lesson? Always let the cake cool completely before glazing — otherwise, the glaze melts and loses its pretty sheen. This cake is forgiving — trust your senses, and don’t be afraid to experiment with flavors or fillings to make it truly your own.
Storing and Reheating Tips
This cake stays lovely for a couple of days if stored properly. Keep leftovers in an airtight container at room temperature for up to two days — just cover loosely with foil or a clean towel. After that, it’s best to move it to the refrigerator, where it will keep fresh for about 3-4 days. I recommend slicing only what you plan to eat each day to keep the rest moist and tasty. To reheat, just warm a slice in the microwave for 15-20 seconds — it brings back that cozy, freshly-baked texture. If freezing, wrap slices tightly in plastic wrap and freeze up to 2 months. Thaw overnight in the fridge or at room temperature. I usually add the glaze after reheating, so it stays shiny and fresh. If you’re short on time, a quick 10-second warm-up in the microwave works wonders. Either way, this cake is best enjoyed when fresh, but it’s surprisingly resilient and still delicious after a little rest in the fridge.
Frequently Asked Questions
Final Thoughts
This zucchini swirl cake has become a staple in my kitchen because it’s so easy to make and endlessly adaptable. The moist crumb, the gorgeous marbling, and the whisper of zucchini make it a true comfort food. Every time I serve it, I get those questions — “What’s in it?!” — and I happily reveal the secret vegetable that makes it so tender. It’s one of those recipes that feels like a warm hug, perfect for lazy mornings, weekend brunches, or just a sweet pick-me-up after a long day. My hope is that it’ll become a part of your baking repertoire, too. Don’t be shy — play around with flavors and add your personal touch. And remember, the best part is sharing your creations with loved ones. Happy baking, and I can’t wait to hear how yours turns out!

hot chocolate bombs
Ingredients
Method
- Chop chocolate chips as finely as possible, which will aid in more even melting.
- Place 5 ounces of chopped chocolate (about ⅔ of the chocolate) in a microwave-safe bowl. Microwave on the defrost setting in 15 second increments, stirring between each. When most of the chocolate is melted, with a few pieces still solid, stop microwaving and stir to finish melting the chocolate. The temperature for semi-sweet chocolate should be between 100-113°F at this point and not hotter than 120°F.
- Add the remaining chocolate pieces and stir until they are mostly melted and incorporated. Continue stirring the chocolate until it cools to about 85°F.
- Place the chocolate back into the microwave on the defrost setting for 15 seconds once more. This should be enough time to heat the chocolate back up to 90° and make it fluid for molding.
- Use a basting brush, paintbrush or the back of a spoon (a soup spoon works great!) to coat the inside of each sphere of the candy mold. Apply two thin coats or one thicker coat, between 1/16” and ⅛”.
- Use a knife or straight edge to clean up any excess chocolate on the surface of the mold.
- Place the mold in the refrigerator for 3-5 minutes until the chocolate sets.
- Gently pop the molded chocolate from the silicone mold.
- Spoon 1 ½ teaspoons of hot cocoa mix powder into one side of each sphere half. Add as many mini marshmallows as you can.
- Heat an empty plate in the microwave for about a minute and place it next to your work space.
- Place the empty half of each sphere, open side down onto the plate for just a couple seconds to melt the rim. Quickly press the melted rim against the rim of the other half to seal the sphere together.
- You can alternately paint a bit of melted chocolate on the edge to glue the two sides together, but this leaves more of a visible line.
- Place white chocolate chips in a piping bag or Ziploc bag. Microwave in 20 second increments, squishing the chocolate within the bag, until it is fully melted. Snip off a small corner of the bag (or the tip if using a piping bag).
- Drizzle the white chocolate over the top of each hot chocolate sphere for decoration.
- To serve, place a hot chocolate bomb in a mug. Pour 8 oz. of steamed milk over the chocolate. Stir and drink up!