Simple Spanish Chicken Paella Recipe
You know that moment when you’re craving something sweet but don’t want to fuss with baking an entire cake or turning on the oven for hours? That’s when I reach for these zucchini lemon muffins. I’ve made this recipe countless times—it’s practically a family tradition now—and let me tell you, it’s one of those little treasures that turns a hectic morning into something special. The smell alone — that burst of citrus mixed with warm muffin aroma — practically announces, “Hey, life is good.” I always do this when I want a comforting treat without the guilt, or when my kids ask for a snack that’s wholesome but still satisfying. Trust me on this: once you try these, they’ll be a staple in your kitchen too. They’re that good. And the best part? They’re ridiculously easy—no fancy equipment required, just a mixing bowl, a whisk, and a muffin tin. So, let’s get baking and make something that tastes like a little slice of sunshine!
What is Moist Zucchini Lemon Muffins?
Think of these muffins as a delightful mashup of spring’s freshest flavors and cozy comfort. The name says it all: moist zucchini lemon muffins. It’s essentially a quick bread in muffin form, made with shredded zucchini that keeps everything wonderfully tender and moist. The lemon gives a bright, tangy punch that totally wakes up your taste buds, while the zucchini acts like a secret ingredient that keeps the muffins super soft without making them dense or rubbery. The name might sound fancy, but this recipe is anything but complicated. It’s what I like to call a “kitchen hug”—something you can whip up in under an hour, and it always turns out perfectly. The best part? It’s versatile enough to serve for breakfast, brunch, or even as a sneaky dessert for those midnight cravings. Honestly, I think of it as my go-to when I want something mildly sweet and bursting with flavor.
Why you’ll love this recipe?
There are so many reasons why I keep coming back to these zucchini lemon muffins—and I think you’ll find the same. First off, they’re bursting with flavor. The lemon zest and juice balance out the vegetable’s mildness, giving each bite a fresh, zesty punch that tastes like spring in your mouth. Plus, the zucchini adds moisture and tenderness—my kids actually ask for seconds sometimes, which is pretty rare in our house! What I love most about this is how simple it is. No complicated whipping, no specialty tools—just a bowl, a whisk, and a muffin pan. And honestly, it’s budget-friendly too. The ingredients are pantry staples, and you probably already have most of them at home. Versatile? Absolutely. These muffins can be breakfast on the go, a brunch centerpiece, or a cozy snack paired with tea or coffee during a lazy Sunday morning. I tested this with a dairy-free yogurt and almond milk, and it made it even creamier — so feel free to tweak based on your preferences. Trust me: once you make these, they’ll become a household favorite too.
How do I make Zucchini Muffins?
Quick Overview
This recipe is a sunshine-scented, easy-to-make muffin that combines shredded zucchini with bright lemon zest and juice. I love how adaptable it is—just mix the ingredients, layer in the muffin tins, and bake. The result? Tenders, moist muffins that are perfect for anytime of day. A little trick I regularly do is to squeeze out excess moisture from the zucchini before mixing—this prevents sogginess and makes sure your muffins stay fluffy. It’s the kind of recipe that rewards you with a batch of beautiful, flavorful muffins in under an hour. Seriously, you can make these during a hectic weekday or prep a dozen on Sunday for quick breakfasts all week long. And, by keeping it light with olive oil or a neutral vegetable oil, these muffins stay healthy but still indulgent enough to delight everyone at the table.
Ingredients
For the Main Batter:
- 1 ½ cups all-purpose flour (or gluten-free blend if needed)
- 1 teaspoon baking powder
- ½ teaspoon baking soda
- ½ teaspoon salt
- ¾ cup granulated sugar (feel free to reduce a bit for less sweetness)
- ¼ cup olive oil or neutral vegetable oil
- 2 large eggs, preferably at room temperature
- ⅓ cup plain Greek yogurt or dairy-free yogurt like coconut or almond yogurt
- Juice and zest of 1 large lemon — the zest is where the magic happens
- 1 teaspoon vanilla extract (because why not?)
For the Filling:
- 1 cup shredded zucchini (about 1 small zucchini)
- Optional: a handful of chopped nuts or berries for added texture and flavor
For the Glaze:
- ½ cup powdered sugar (or less, depending on your glaze preference)
- 2-3 teaspoons lemon juice, or enough to make a pourable glaze
- Optional: a pinch of lemon zest or vanilla for extra flavor
Step-by-Step Instructions
Step 1: Preheat & Prep Pan
Start by preheating your oven to 375°F (190°C). Line a muffin tin with paper liners or lightly grease it with butter or non-stick spray. This ensures easy removal later and prevents sticking. If you want extra softness, I always line mine with parchment paper liners—they’re a game-changer.
Step 2: Mix Dry Ingredients
In a large bowl, whisk together the flour, baking powder, baking soda, salt, and sugar. Mix well so everything gets evenly distributed. This makes sure your muffins rise evenly and stay fluffy. I learned this the hard way—skipping this step can lead to uneven pockets of baking soda, which throws off the flavor.
Step 3: Mix Wet Ingredients
In a separate bowl, whisk together the eggs, yogurt, lemon juice, lemon zest, vanilla, and oil. The key here is to beat everything just enough to combine—no overmixing. You want that beautiful, airy texture, not a tough muffin. Trust me, this is where patience pays off. I’ve overmixed before and ended up with dense muffins—I call it the “dog-food texture,” so now I just do gentle folds.
Step 4: Combine
Add the wet ingredients to the dry, stirring gently with a spatula just until combined. It’s okay if there are a few streaks of flour or tiny lumps—that’s what makes the muffins tender. Overmixing toughens the batter and makes muffins rubbery, so I always stop when it looks just combined.
Step 5: Prepare Filling
Squeeze out excess moisture from the shredded zucchini with a clean towel or paper towels. This little step makes a big difference—you don’t want soggy muffins! Mix the zucchini into the batter last, gently folding it in so it’s evenly distributed.
Step 6: Layer & Swirl
Divide the batter evenly among the muffin cups, filling about ¾ full. If you’re feeling fancy, add a few extra zucchini shreds or nuts on top. For a pretty swirl, drop a spoonful of plain batter, sprinkle some of your chopped nuts or berries, then gently swirl them with a toothpick or skewer. This creates a lovely marbled effect, and each muffin has a surprise bite of flavor or crunch.
Step 7: Bake
Bake for 20-25 minutes. Look for golden-brown tops and a toothpick inserted into the center coming out clean. If you’re oven-stalking like me, keep an eye on the first batch—every oven is a little different. I’ve found that turning the tray halfway through baking ensures even browning. Sometimes I tent mine with foil if they’re browning too fast but aren’t quite done inside.
Step 8: Cool & Glaze
Let the muffins cool in the pan for about 5 minutes before transferring them to a wire rack. If you’re glazing, mix your powdered sugar with lemon juice until smooth. Drizzle the glaze over the muffins while they’re still warm so it spreads beautifully and soaks slightly into the top. If you prefer a less sweet topping, dust with a little powdered sugar or lemon zest instead.
Step 9: Slice & Serve
Once cooled, they’re ready to serve! These muffins are at their best when slightly warm or at room temperature. I love slicing them in half and spreading a little extra lemon butter or honey. For presentation, I sprinkle a tiny bit more lemon zest on top. These are perfect with a cup of coffee or tea, or as a quick breakfast on the way out the door. Honestly, I keep a batch in the fridge and reheat them quickly—nothing beats a warm muffin on a rushed morning!
What to Serve It With
These zucchini lemon muffins are so versatile, they can be a star in practically any setting. For breakfast, serve them with a steaming cup of coffee, a dollop of Greek yogurt, and fresh fruit. I’ve even tossed a few berries into the batter to make them extra colorful and vibrant—my kids love hunting for the berries! During brunch, they’re beautiful with clotted cream and a drizzle of honey, paired with herbal teas or sparkling water with lemon slices. As a dessert, these muffins shine with a scoop of vanilla ice cream or a dusting of powdered sugar—my little daughter calls it her “citrus cake.” Or, just as an everyday snack, they’re the perfect, wholesome pick-me-up that won’t leave you feeling sluggish. One of our family traditions is to sneak a few pieces of dark chocolate into the batter when no one’s looking—it adds an indulgent touch and makes every bite even more irresistible.
Top Tips for Perfecting Your Moist Zucchini Lemon Muffins
After dozens of batches, I’ve learned some little secrets that take these muffins from good to *amazing*. First is zucchini prep—always squeeze out the moisture. I keep shredded zucchini in a nut milk bag or cheesecloth and give it a good squeeze—this keeps the muffins fluffy, not soggy. When mixing, gentle folding is key; I used to rush through it and ended up with dense muffins with tunnels, which was pretty disappointing. Now, I take my time and stop as soon as everything just comes together. Swirling the batter with a toothpick can be tricky, but layering technique makes a difference—try dropping dots of batter, then placing filling in the center, then swirling gently for a marble effect. If I want to switch things up, I swap out some of the flour for almond meal or use mashed bananas instead of yogurt—I’ve tested these substitutions and they work wonderfully, especially for a gluten-free or dairy-free version. Baking at the right temperature is crucial—too hot, and the tops burn before the insides are done; too cool, and they’re dense. Keep an eye on your oven and do the toothpick test. Lastly, for a more tangy glaze, squeeze a little more lemon juice into the powdered sugar—trust me, it adds that extra zing that makes these muffins unforgettable.
Storing and Reheating Tips
This is my secret to enjoying muffins all week long—storing them properly. Once cooled, I keep these muffins in an airtight container at room temperature for up to 2 days; beyond that, I refrigerate them to keep fresh. If it’s hot or humid where you are, the fridge is your friend. To reheat, I pop a muffin in the microwave for about 15-20 seconds—just enough to warm the inside without drying it out. If I want to keep them for longer, freezing is a lifesaver: wrap muffins individually in plastic wrap, then store them in a freezer bag. They stay good for up to 3 months. To thaw, just leave them at room temp for 15-20 minutes or microwave gently. Adding the glaze after reheating prevents it from melting or getting soggy. The key is keeping them airtight, so they don’t lose moisture or pick up fridge odors. These muffins stay surprisingly fresh—probably because of the zucchini and yogurt binding everything together—so I honestly enjoy them days later with no regrets. Just be sure to store them properly if you want to keep that moist, tender crumb intact.
Frequently Asked Questions
Final Thoughts
Honestly, these zucchini lemon muffins are one of those recipes that sneak their way into the “favorite” list for good reason. They’re light yet satisfying, bursting with fresh citrus flavor, and so easy to whip up that even a busy weekday feels like a small celebration. I love how they stay moist and tender through the week—perfect for breakfast, snacks, or even a quick dessert. Plus, hiding zucchini in muffins? It’s my little secret for sneaking more greens into my kids’ diets without any fuss. Every time I bake these, I get a rush of nostalgia—reminding me of lazy Sunday mornings in the kitchen with my grandma, all those mornings filled with the warmth of fresh-baked goodies. If you try this recipe, I’d love to hear how it turns out! Feel free to customize with your favorite add-ins or make a gluten-free version. Happy baking, and I hope your home fills with the same cozy, citrusy smell that ours does every time I bake these. Drop a comment below or share your tweaks—I can’t wait to see your creations!
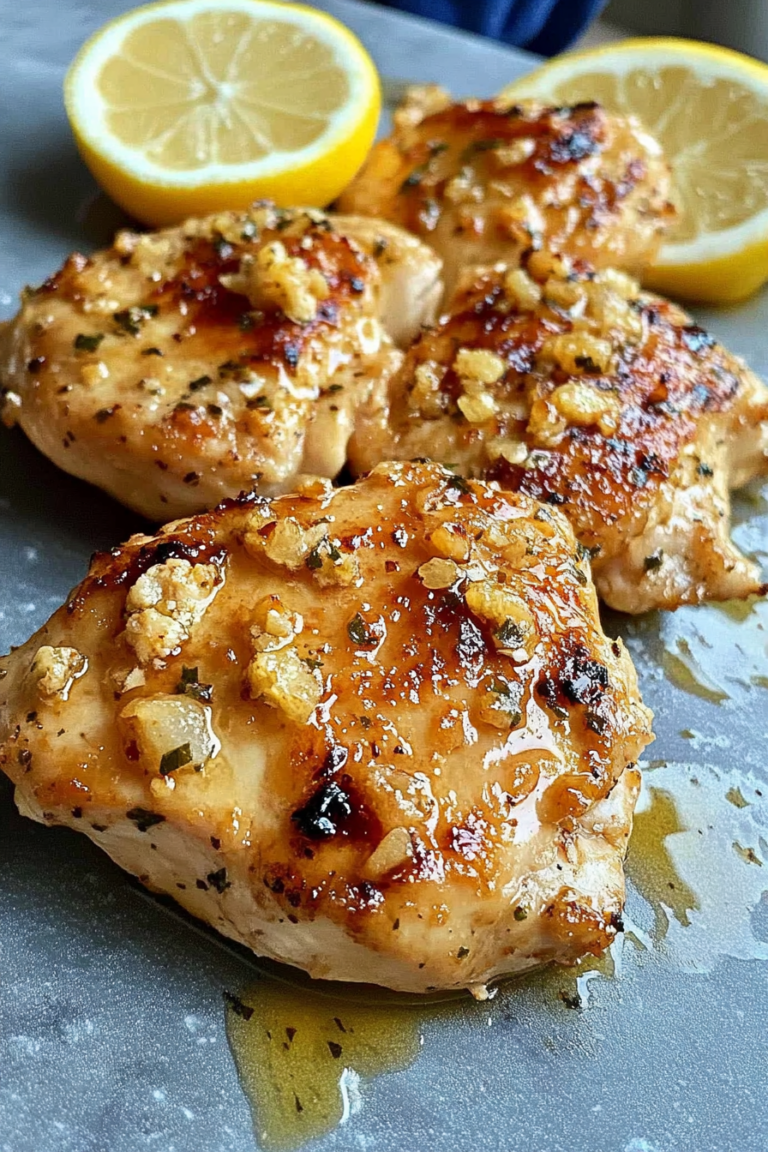
chicken paella
Ingredients
Method
- Heat 1 tablespoon of olive oil in a large skillet over medium-high heat. Add diced chicken and season with salt and pepper. Cook until browned and cooked through, about 5-7 minutes. Remove and set aside.
- Add remaining 1 tablespoon of olive oil to the same pan. Sauté chopped garlic until fragrant, about 1 minute.
- Stir in rice and cook for 2-3 minutes, coating the rice with oil.
- Add diced tomatoes, chicken broth, and season with salt and paprika if desired. Bring to a boil.
- Reduce heat to low and simmer uncovered for 15 minutes. Add cooked chicken and peas during the last 5 minutes of cooking.
- Once rice is tender and liquid is absorbed, remove from heat and let rest for 5 minutes before serving.
- Garnish with chopped parsley and lemon wedges if desired. Serve hot.