Easy Samoa Cheesecake Without Baking
There’s something about pulling out a warm, freshly baked cake that instantly brings back childhood memories—family Sunday afternoons, the smell of citrus filling the air, and everyone gathered around the kitchen table. This recipe for mini lemon drizzle pound cakes is one of those keepers in my family. I always do this when I want something sweet but don’t want to fuss over a big dessert, or when I need a quick gift for a friend—they disappear in minutes at my house! It’s honestly become my go-to for everything from a cozy weekend treat to a fancy brunch addition. And let me tell you, the best part? The lemon glaze isn’t just pretty—it’s bright, tangy, and totally addictive. Trust me on this one—they’re insanely good, and I bet your house will smell just as inviting as mine does when I bake these. Grab some fresh lemons, and let’s get baking—it’s easier than you think!
What is a lemon drizzle cake?
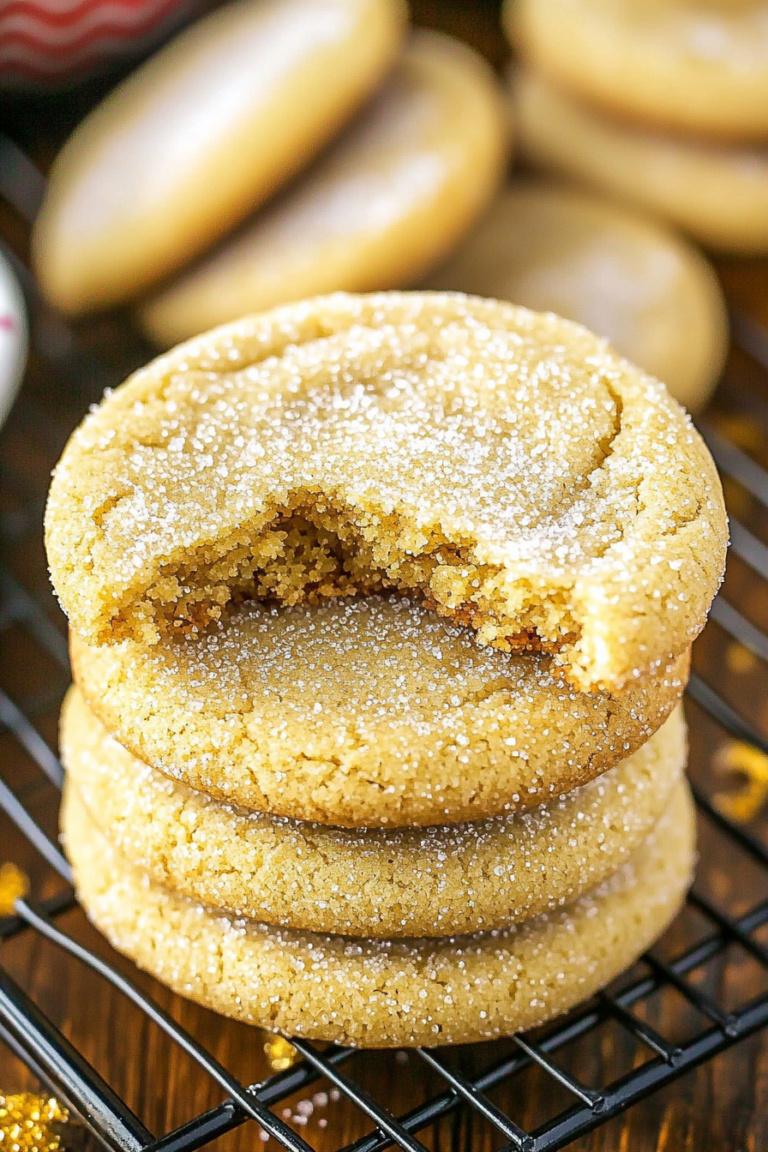
Think of these mini lemon drizzle pound cakes as tiny bundles of sunshine wrapped in a tender crumb. They’re essentially mini loaves, baked in adorable individual portions, making them perfect for portion control or serving at a gathering. The name “pound cake” harks back to a classic, dense buttery cake, but I like to keep mine light and zesty with the fresh lemon flavor shining through. The “drizzle” part is what makes these extra special—once they come out of the oven, a shiny lemon glaze gets poured over, soaking into every nook and cranny, creating that irresistible sweet-tangy contrast. I’ve tested this recipe countless times, tweaking the citrus to balance that perfect zing, and honestly, it never gets old. These little cakes are great because they’re versatile—you can serve them as a fancy dessert, teatime treat, or even as a sweet breakfast addition. They look so cute on a brunch table and taste just as good at midnight when you’re craving something special.
Why you’ll love this recipe?
What I love most about these mini lemon drizzle pound cakes is how simple and forgiving they are—perfect for both beginner bakers and seasoned pastry pros. The batter comes together in literally minutes, with just a handful of ingredients you probably already have lurking in your pantry. Plus, the flavor? Bright, fresh, and not overly sweet—just a little sugar and lots of lemon zest and juice to jazz things up. The texture is satisfyingly moist and tender, thanks to a touch of sour cream (or Greek yogurt if you’re feeling healthy). And the best part? The glaze! That zingy lemon syrup melts into the warm cakes, creating a beautiful shiny finish that’s both pretty and flavorful. I’ve made these with regular granulated sugar, but once I tested with honey and even maple syrup—trust me, they turned out just as delicious with a more complex sweetness. They’re so budget-friendly, too. The ingredients are simple, yet the end result feels fancy enough to serve at a dinner party or gift to someone special. Plus, you can get creative—add a handful of blueberries or some chopped almonds for a little twist. What I love most about this is how versatile and fail-proof it is—I always end up with perfect cakes every time. And if you don’t have mini loaf pans? Don’t worry; muffin tins work just as well!
How do I make a mini lemon drizzle cake?
Quick Overview
This recipe is a breeze—you mix the dry ingredients, whisk the wet, then gently combine everything. Pour the batter into your mini loaf pans, bake until just golden, and while they cool slightly, whip up a quick lemon glaze to drizzle over the warm cakes. The magic happens when the glaze seeps into every crack, giving you a moist, tangy finish. I love how fast it all comes together and how impressive it looks with minimal effort. You’ll love how adaptable it is—I’ve even made them the night before a brunch, and the flavors improve overnight. Simple, fresh, and totally satisfying, these cakes are a total crowd-pleaser!
Ingredients
For the Main Batter:
- 1 1/2 cups all-purpose flour (I always use unbleached because it’s a bit sturdier but regular works fine too)
- 1 teaspoon baking powder (freshly whisked in for lift)
- 1/2 teaspoon salt (just a pinch to balance the sweetness)
- 1/2 cup unsalted butter, softened (or coconut oil for a dairy-free version—trust me, still fabulous!)
- 3/4 cup granulated sugar (or coconut sugar for a more caramelized flavor)
- 2 large eggs (room temp makes mixing easier)
- 1/4 cup sour cream or Greek yogurt (adds moisture and richness)
- 1/4 cup fresh lemon juice (the real star—freshly squeezed, please!)
- 2 teaspoons lemon zest (more zest for extra zing)
For the Filling (Optional):
- 1/2 cup fresh blueberries, chopped nuts, or even a dollop of lemon curd—whatever you love
For the Glaze:
- 1 cup powdered sugar (sifted for smoothness)
- 2-3 tablespoons fresh lemon juice (add more for a thinner drizzle)
- Optional: a splash of vanilla or a pinch of salt for depth
Step-by-Step Instructions
Step 1: Preheat & Prep Pan
Start by setting your oven to 350°F (175°C). Grease your mini loaf pans well—trust me, this avoids all the sticking drama—and lightly dust with flour or line with parchment paper for an easy release. If you don’t have mini loaf pans, muffin tins work perfectly, just adjust the baking time (about 20-25 minutes for muffins). I always do this first so everything’s ready to go when I finish mixing.
Step 2: Mix Dry Ingredients
In a medium bowl, whisk together the flour, baking powder, and salt. Make sure everything’s evenly combined—this way, your cakes rise evenly and get that perfect crumb. I’ve made the mistake of rushing through this step and ending up with uneven puffiness, so take your time here.
Step 3: Mix Wet Ingredients
In a large bowl, beat the softened butter and sugar until fluffy—about 2-3 minutes. Add the eggs one at a time, beating well after each addition. Then stir in the sour cream, lemon juice, and lemon zest. The smell alone is enough to make you smile—bright and sunny, just like spring in a bowl. I tested with almond milk once, and while it still worked, the sour cream definitely adds richness I love, especially in the winter months.
Step 4: Combine
Gradually fold the dry ingredients into the wet, just until the batter is combined. Don’t overmix—the batter should be thick but well-blended. Overmixing can make the cakes dense, and that’s not what we’re aiming for here. It’s okay if there are a few streaks of flour; they’ll disappear during baking.
Step 5: Prepare Filling (Optional)
If you’re adding extras like blueberries or chopped nuts, gently fold them into the batter now. For a swirled effect, save some lemon glaze for later and swirl it into the batter before baking. I like to reserve a tablespoon of batter and swirl it with some jam or lemon curd for a more layered look—looks pretty and adds flavor!
Step 6: Layer & Swirl
Pour the batter into your prepared pans, filling them about 3/4 full. If using filling or trying to create a swirl, add spoonfuls on top and use a toothpick to swirl gently. Keep the design simple—sometimes, the most imperfect-looking cakes are the most charming!
Step 7: Bake
Pop them in the oven and bake for 20-25 minutes, or until a toothpick inserted in the center comes out clean. The tops should be golden, and your kitchen will start to fill with that lemony scent that makes everyone come running. Don’t overbake or they’ll dry out—trust me on this—so start checking around the 20-minute mark.
Step 8: Cool & Glaze
Let the cakes cool in the pan for about 10 minutes before transferring them to a wire rack. Warm cakes absorb glaze better, so if you’re eager to drizzle, do it while they’re still slightly warm. Mix the powdered sugar and lemon juice until smooth and shiny, then pour over the cakes. The glaze will drip down the sides, creating a glossy, irresistible finish.
Step 9: Slice & Serve
Once fully cooled, with a sharp serrated knife, gently slice the mini cakes. They look special enough to serve at a fancy brunch, but honestly, they’re so cozy, I love grabbing one with my coffee on a weekday morning. A little extra lemon zest or a sprig of mint on top makes for a pretty presentation. Enjoy these with a cup of tea or a big glass of milk—the flavor combo is just perfect!
What to Serve It With
These little lemon cakes are so versatile; I honestly serve them everywhere! For breakfast, they’re a bright start with your morning coffee or tea, especially paired with a tangy yogurt or fresh berries—my kids ask for this all the time. At brunch, I like to pile them onto a pretty platter alongside some scrambled eggs, smoked salmon, and a mimosa. They also make a stunning dessert—just add a dollop of whipped cream or a scoop of vanilla ice cream for an elegant touch. And because they’re mini, they’re great for casual snacks, too. I often slip one into my kids’ lunchboxes (shhh—they don’t need to know how easy it was). Sometimes, I drizzle a little extra lemon glaze or sprinkle powdered sugar on top, depending on the occasion. These cakes are so forgiving—you can add quick tweaks to make them your own, which is why I keep making them over and over. They’re honest-to-goodness comfort snacks that satisfy every time.
Top Tips for Perfecting Your Mini Lemon Drizzle Pound Cakes
Over the years, I’ve learned a few tricks that make these cakes turn out just right every single time. First, ingredient temperature matters—make sure your butter and eggs are at room temp, so everything mixes smoothly and melts beautifully into the batter. I’ve tested with different oils, and while coconut oil works well, I prefer unsalted butter for that rich flavor. When mixing the batter, fold gently—no vigorous stirring—that keeps the cakes light and airy. If you want a more intense lemon flavor, add extra zest, but be careful not to overpower the delicate balance—less is often more. For a more dramatic look, try swirling in some berry jam into the batter before baking; it gives a lovely burst of fruity sweetness. I advise against opening the oven door too often during baking—wait until the minimum baking time to check for doneness. If your oven runs hot or cold, adjust the baking time accordingly—start checking at 20 minutes. When glazing, I like a slightly runny consistency—thin enough to drip but thick enough to stay put. A quick test: lift your spoon and see how the glaze flows. If it’s too thick, add a splash more lemon juice. Too thin? A sprinkle of powdered sugar in the mix thickens it right up. Oh, and a little tip—if you want to make these extra pretty, sprinkle some extra lemon zest or edible flowers on top before serving. Little touches that make all the difference. Honestly, making these a few times will teach you exactly what works best in your kitchen, and once you get it, there’s no turning back!
Storing and Reheating Tips
These cakes are best enjoyed fresh, but I get it—life gets busy. If you have leftovers, let them cool completely before storing. For short-term storage, keep them in an airtight container at room temperature for up to 2 days—covered with a clean towel or wax paper to keep the moisture in. If you’re planning to keep them longer, pop them in the fridge, where they’ll stay fresh for about 4-5 days. Just bring them to room temp before serving—they taste even better that way. For freezing, wrap each mini cake tightly in plastic wrap, then place in a freezer-safe bag or container. They’ll keep well for up to 3 months. To reheat, unwrap and warm in the oven at 350°F for about 10 minutes, or microwave for 20-30 seconds until warm. If you’ve added glaze, it’s best to add that just before serving to keep the cakes moist and shiny. I’ve learned from experience that glazing cold cakes doesn’t give that beautiful glossy finish—so plan your glazing step accordingly!
Frequently Asked Questions
Final Thoughts
If you’ve been searching for a bright, cheerful treat that’s easy to whip up and always impresses, give these mini lemon drizzle pound cakes a try. They’re simple enough for a weekday bake but elegant enough to serve for company. The combination of moist, tender crumb with that zesty, glossy glaze makes every bite feel like a little celebration. Plus, they’re customizable—add a handful of blueberries, swap the lemon for lime, or experiment with different glaze flavors—so they truly become your own. I’ve made these dozens of times, tweaking little things along the way, and I never get tired of the way the smell alone fills my house with happy energy. So, gather your ingredients, roll up your sleeves, and don’t be surprised when you find yourself sneaking one (or two!) straight from the cooling rack. I can’t wait to hear how yours turn out—leave a comment or share a photo! Happy baking, friends!

Samoa Cheesecake
Ingredients
Method
- Line a 9-inch springform pan with parchment paper at the bottom and grease the sides.
- Combine Oreo crumbs and melted butter in a small bowl. Press the mixture into the bottom and up the sides of the prepared pan.
- Refrigerate the crust while making the filling.
- Bake the coconut flakes at 350°F for 5-10 minutes until lightly toasted. Cool completely.
- In a large bowl, beat the cream cheese, sugar, light brown sugar, vanilla extract, and coconut extract until smooth.
- Add half of the caramel sauce and mix until combined.
- Fold in broken cookies and toasted coconut flakes.
- In a separate bowl, whip the heavy cream and powdered sugar until stiff peaks form.
- Fold the whipped cream into the cream cheese mixture until fully incorporated.
- Pour half of the filling over the crust, drizzle with a quarter of the remaining caramel sauce, and swirl gently.
- Repeat with remaining filling and caramel sauce, swirling again.
- Refrigerate for at least 4 hours or until set.
- Prepare chocolate ganache by heating the heavy cream and pouring over the semi-sweet chocolate chips. Whisk until smooth.
- Remove cheesecake from pan, top with ganache, remaining toasted coconut, mini chocolate chips, and drizzle with remaining caramel sauce.
- Serve chilled and enjoy.