Gentle Baked Cream Cheese Chocolate Cookies
There’s nothing like the smell of baking zucchini bread wafting through the house on a chilly Sunday morning. It instantly makes everything feel cozy, warm, and a little bit nostalgic — like grandma’s kitchen, or those lazy weekends when I’d sneak an extra slice before breakfast. I remember the first time I made zucchini bread, stumbling over the batter and wondering if I’d actually pulled off something good. Spoiler: I did, and my kids ask for this all the time now. It’s sweet but not overly indulgent, moist without being dense, and just feels like a hug in bread form. And the best part? It’s incredibly simple to throw together, even on our busiest days. Trust me on this one, this zucchini bread really is a home-run for any baking adventure. Plus, it’s a sneaky way to get those kids eating veggies—no joke, they gobble it up. Hand me a slice and some coffee, and I’ll tell you all my little secrets!
What is Zucchini bread?
Think of zucchini bread as the cozy cousin of classic banana bread—moist, slightly sweet, and packed with vegetables. Its roots are in the idea of using up garden zucchinis in a way that puts them front and center, not hidden away. The name “zucchini bread” is pretty straightforward: bread made with grated zucchini. But what makes it special isn’t just the vegetable—it’s how it transforms into a tender, flavorful treat. The batter’s usually a simple combo of flour, sugar, eggs, and a touch of spice, then generously loaded with summer squash. It’s essentially a sneaky, healthy-ish dessert or snack, perfect for breakfast alongside your coffee (or tea, if that’s your thing). I love that it’s forgiving—if you forget to squeeze out all the moisture, it still turns out delicious. It’s a rustic, homey bake that celebrates the beauty of simple ingredients. Think of it as comfort food with a little twist of spring and summer all year round.
Why you’ll love this recipe?
What I love most about this zucchini bread is how versatile it is—it’s truly a one-bowl miracle. You can whip this up in no time, which makes it perfect for those days when you want something homemade but don’t want to spend hours in the kitchen. Plus, it’s budget-friendly—using common pantry staples and those overgrown zucchinis sitting in the fridge. The flavor here is what keeps me making it again and again—the sweetness of the batter perfectly balanced with the tender zucchini, and that hint of cinnamon or vanilla, depending on what you add. It smells divine as it bakes, filling the house with warm, spicy notes that make everyone come to the kitchen like moths to a flame. This bread is great for breakfast, a cozy afternoon snack, or even as a sweet ending to dinner. I’ve tested this with almond milk and swapped sugar for honey, and honestly, it just keeps getting better. My kids ask for this constantly—they love helping, too, which is a bonus. And the best part? Once it’s baked, it stays moist for days, making it a lifesaver on busy nights or when friends pop by unexpectedly. It’s a wholesome crowd-pleaser that feels like a treat but is really just good old-fashioned baking magic.
How do you make Zucchini bread?
Quick Overview
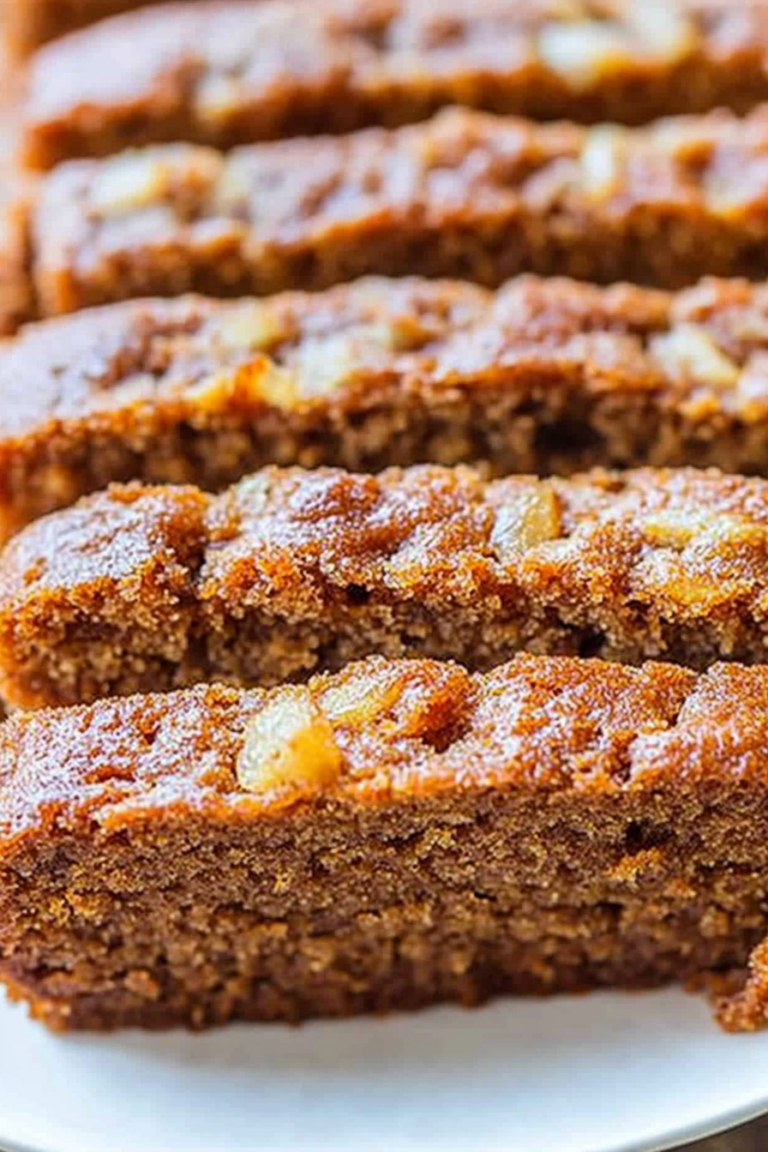
This zucchini bread couldn’t be easier—just grate the zucchini, mix it into a simple batter, swirl in your favorite flavorings, and bake. No fancy equipment needed, just a spatula and a good old loaf pan. The batter comes together quickly, and I usually do this in a single bowl to keep things simple. The secret is not overmixing; that’s how you get fluffy, tender bread instead of dense cupcakes. Once in the oven, about 50-60 minutes later, you’ll have a gorgeous, golden loaf that smells like heaven. I recommend letting it cool a little before slicing — it’s tempting to dive right in, but giving it that extra 10 minutes makes all the difference. This recipe is so forgiving—you can even throw in a handful of blueberries or walnuts if you’re feeling extra fancy. It’s perfect for baking with kids, too, because it’s straightforward and almost foolproof.
Ingredients
For the Main Batter:
– 2 cups all-purpose flour (or gluten-free blend if needed)
– 1 cup granulated sugar (honey or maple syrup work nicely, too)
– 1 teaspoon baking powder
– 1/2 teaspoon baking soda
– 1 teaspoon ground cinnamon
– 1/2 teaspoon salt
– 2 large eggs
– 1/2 cup vegetable oil (or applesauce for a lighter version)
– 1 teaspoon vanilla extract
– 1 1/2 cups grated zucchini (unsqueezed but excess moisture drained)
For the Filling:
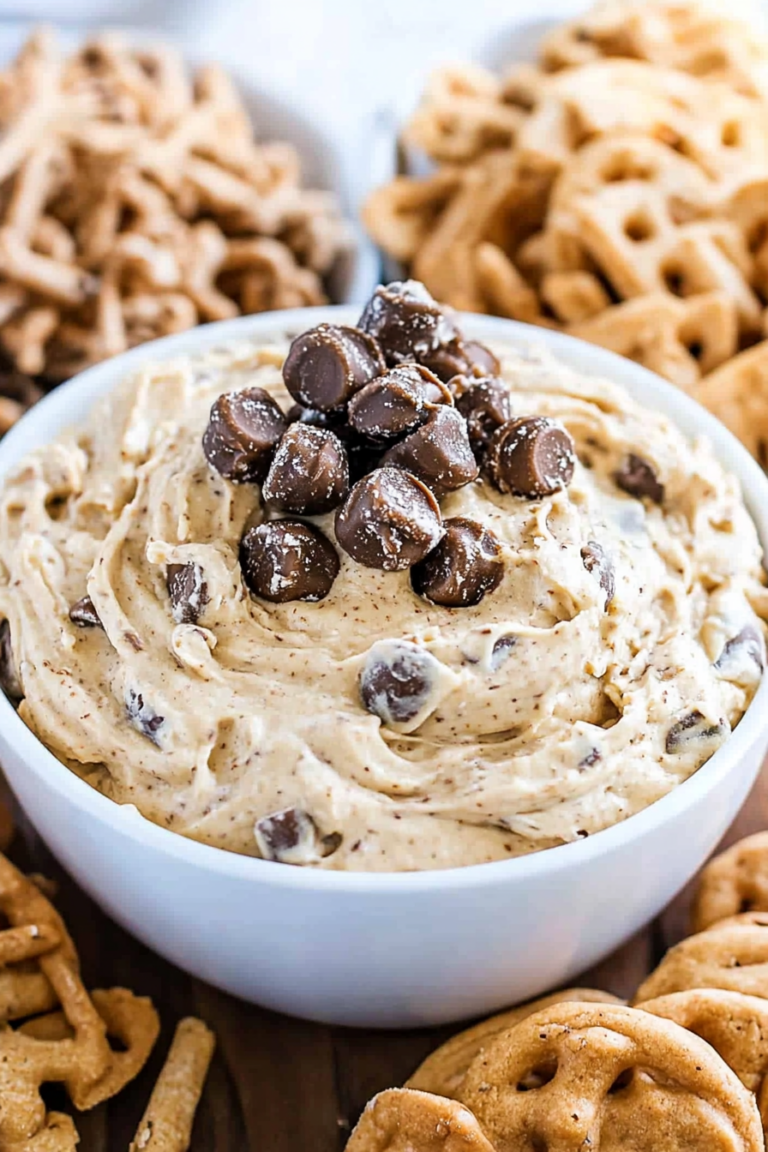
– Optional: 1/2 cup chopped walnuts or chocolate chips
– Or swirl in a tablespoon of cream cheese for a cheesecake vibe
For the Glaze:
– 1/2 cup powdered sugar
– 1-2 teaspoons milk or lemon juice
– A splash of vanilla (optional)
Step-by-Step Instructions
Step 1: Preheat & Prep Pan
Set your oven to 350°F (180°C). Grease a standard loaf pan with butter or line it with parchment paper. This step is key because you don’t want the bread to stick and ruin your beautiful loaf. I always do this first so I’m ready to go when the batter is mixed.
Step 2: Mix Dry Ingredients
In a big mixing bowl, whisk together the flour, sugar, baking powder, baking soda, cinnamon, and salt. This ensures everything’s evenly distributed—trust me, you don’t want a pocket of baking soda in your bread. It also saves some time later when you combine everything.
Step 3: Mix Wet Ingredients
In a separate bowl, beat the eggs lightly, then stir in the oil (or applesauce), vanilla, and about half of your grated zucchini. The zucchini should be grated finely but not pureed. I like using a box grater for this—simple, fast, and it makes the zucchini nice and tender.
Step 4: Combine
Make a well in the dry ingredients and pour in the wet mixture. Fold gently until just combined. Be careful not to overmix; a few lumps are okay. Overmixing is how I’ve accidentally made dense bread instead of fluffy. It’s all about gentle strokes here.
Step 5: Prepare Filling
If you’re adding nuts or chocolate chips, fold them in now. For swirl options, just set aside a spoonful of the batter and mix in your extras, then layer in the pan for a rustic look.
Step 6: Layer & Swirl
Pour about half of the batter into the loaf pan. Drop spoonfuls of the reserved mixture on top, then swirl with a knife or skewer. This creates a pretty marbled effect that looks as delicious as it tastes.
Step 7: Bake
Bake at 350°F (180°C) for 50-60 minutes. Check for doneness by poking a toothpick into the center—if it comes out clean, you’re good! Ovens vary, so start checking around the 50-minute mark. The top should be golden and slightly cracked, just like grandma’s bread.
Step 8: Cool & Glaze
Let the bread cool in the pan for about 10 minutes, then transfer to a wire rack. Mix the powdered sugar with a splash of milk or lemon juice to make a quick glaze, and drizzle over the cooled bread. It’s that sweet finishing touch I love; it makes everything look fancy even when you’re in your pj’s.
Step 9: Slice & Serve
Use a serrated knife to carefully slice—caring for that tender crumb. This bread’s best served slightly warm or at room temperature. Honestly, I think it tastes even better the next day, after the flavors have had a little time to meld.
What to Serve It With
This zucchini bread is so adaptable, my family eats it in all kinds of ways. In the morning, I love slicing it thick and slathering it with butter or cream cheese, pairing it with a hot cup of coffee or tea. It also makes a great grab-and-go breakfast for busy mornings—just wrap slices in foil or parchment and stash them in the fridge. For brunch, serve it alongside a fruit salad or a ricotta spread with fresh berries—think of it as a sweet side dish. When my friends come over, I slice it open, add a dollop of whipped cream or a drizzle of caramel, and it’s a stunning dessert. And honestly, it’s pretty perfect for a cozy snack any time of day, especially when you’re craving something sweet but don’t want to turn on the oven again.
My family loves it as a tea-time treat, and I’ve even made little muffin versions for school lunches—baked for about 20-25 minutes at 350°F (180°C). The kids think they’re special snacks, and I love that I can sneak in a veggie with a little sweetness. It’s become one of those recipes I whip up faster than I can say “delicious!” which is why it’s one I keep coming back to. Nothing beats a homemade loaf fresh out of the oven, especially when it’s this easy and so satisfying.
Top Tips for Perfecting Your Zucchini Bread
Having baked this a dozen times, I’ve picked up a few tricks that make all the difference. First, the zucchini—always grate finely and give it a quick squeeze to remove excess moisture; this prevents sogginess and helps the bread stay tender. I tried using regular grated zucchini without squeezing, and let’s just say it was a little too moist, and the loaf sank a bit in the middle. So, do the squeeze test! The batter should be thick but pourable—if it’s too runny, add a tablespoon more flour.
Mixing is key—I fold gently as overmixing can lead to dense bread. Start with a spatula, then switch to a wooden spoon if needed. When layering and swirling, don’t overdo it—just a few quick strokes to get that marbled look without blending everything into one uniform color.
If you want to swap out parts of the sugar, I’ve tested honey and maple syrup. Reduce the liquid slightly if your batter seems too loose, and remember, natural sweeteners can change the baking time a bit. Also, don’t skip the cinnamon—it adds that warm, inviting aroma that’s signature to this bread.
Baking at different ovens may vary—my old one runs hot, so I check for doneness at 50 minutes, just to be safe. Use the toothpick test to avoid overbaking. And finally, the glaze adds just a touch of elegance, but if you prefer it simpler, a dusting of powdered sugar works just as well. I’ve even experimented with lemon glaze—that zesty punch takes it over the top!
The biggest lesson I’ve learned? Patience. Let the bread cool completely before slicing—warm slices can crumble easily. And don’t be shy about tweaking flavors to your taste. Sometimes I add a dash of nutmeg or a handful of dried cranberries—versatility is what keeps this recipe fresh every time.
Storing and Reheating Tips
This bread stays fresh surprisingly well. Once cooled, I wrap it tightly in plastic wrap or store it in an airtight container. Left at room temperature, it’ll stay good for about 2-3 days—I swear it tastes even better on the second day when the flavors settle in. If you want to keep it longer, pop slices into an airtight container in the fridge for up to a week. Just remember to warm slices slightly in the microwave or toaster oven before serving—they taste heavenly when slightly warmed.
Thinking ahead, you can also freeze the loaf—wrap it tightly in foil and then in a freezer bag. It’ll keep for up to 3 months. Thaw at room temp or warm slices directly from frozen. I prefer slicing first before freezing so I can grab just what I need without defrosting the whole loaf.
If you’re adding the glaze later, wait until the bread has cooled completely to avoid melting or sliding off. That way, it stays pretty and adds that final touch of sweetness and shine. Trust me, these tips keep your bread tasting fresh and beautiful, whether you eat it all in one go or stretch it over several days.
Frequently Asked Questions
Final Thoughts
This zucchini bread has become a staple in my kitchen, and I think it will hold a special place in yours too. It’s one of those recipes that’s simple enough for weeknights, but special enough to serve to guests or bring as a gift. The aroma alone is reason enough to bake it often! I love how adaptable it is—sometimes I replace the cinnamon with nutmeg or add a handful of dried cranberries; other times, I toss in some walnuts for crunch. It’s that kind of recipe that’s forgiving and welcoming, just like a good friend. Remember, the magic is in the small details—don’t overmix, squeeze out that zucchini moisture, and let your loaf cool completely before slicing. Be sure to share your variations and what your family thinks—I’d love to hear all about it. Happy baking, and may your home be filled with that irresistible smell of freshly baked goodness!
softbatch
Ingredients
Method
- In a stand mixer fitted with paddle attachment, beat softened butter, cream cheese, sugars, egg, and vanilla until light and fluffy, about 5 minutes.
- Add flour, cornstarch, baking soda, and salt; mix until just combined, about 1 minute.
- Fold in chocolate chips or chunks by hand or briefly mix to combine.
- Using a 2-inch cookie scoop, form heaping mounds on a plate, flatten slightly, cover with plastic wrap, and refrigerate for at least 2 hours.
- Preheat oven to 350°F. Line baking sheets with silicone mats or spray with non-stick spray. Place cookie mounds spaced 2 inches apart.
- Bake for 8 to 9 minutes until edges are set. Cookies may appear slightly underdone in center.
- Allow cookies to cool for 5 minutes on baking sheet, then transfer to racks to cool completely.